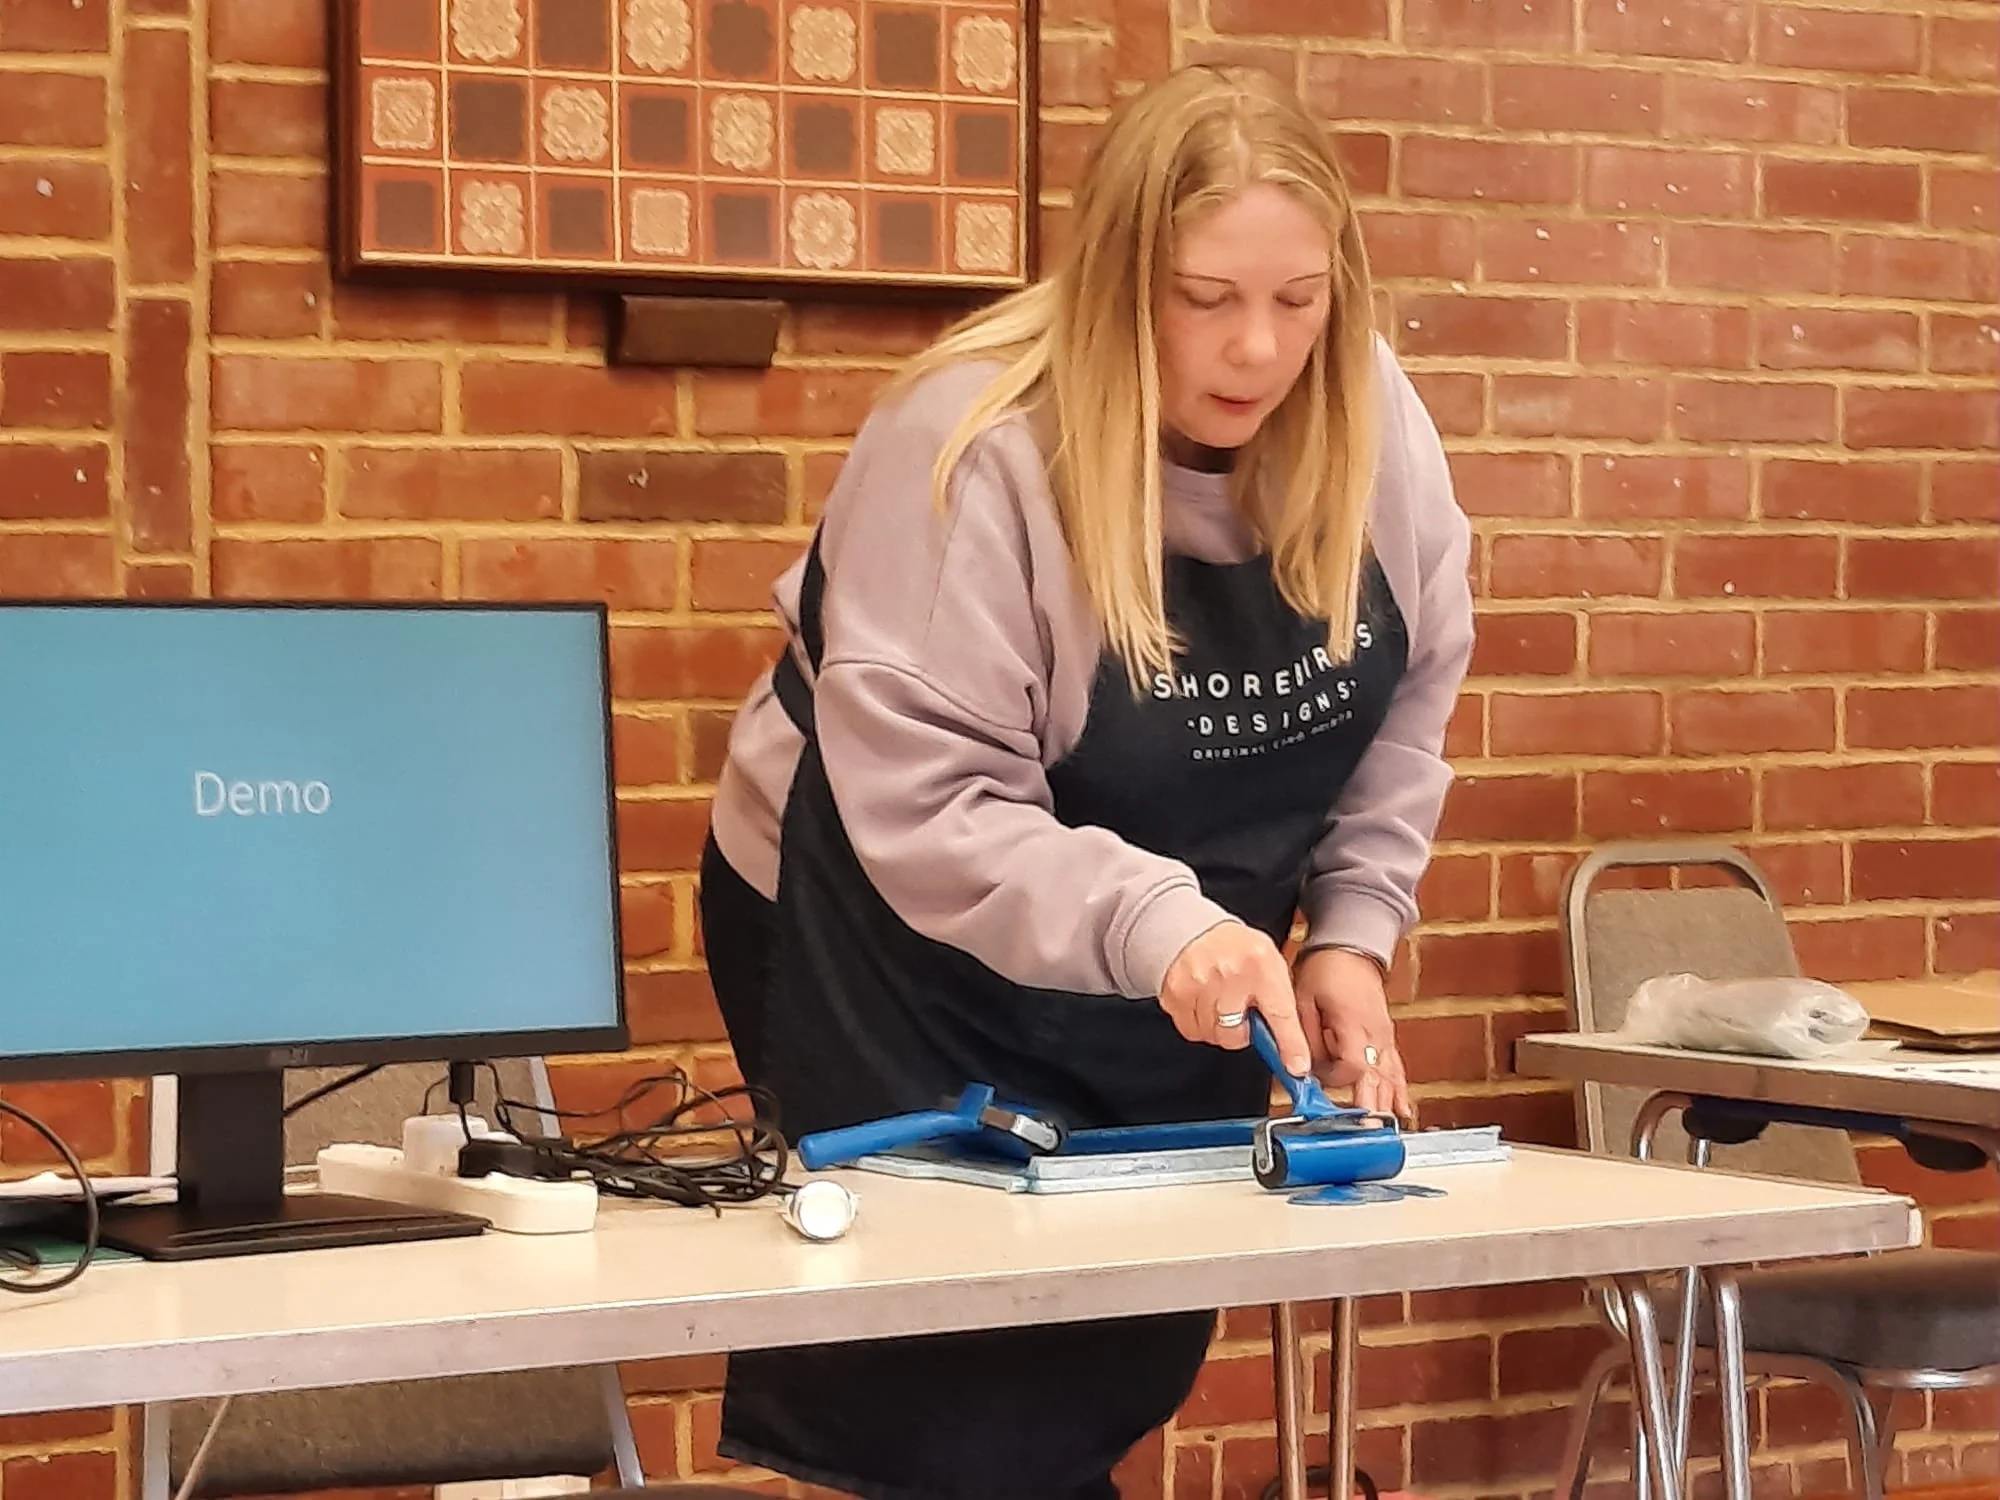
Workshop: Gemma Shutler - Lino Printing
An extremely enjoyable workshop. Gemma went through the various stages of the process, demonstrating each by video and showing examples. She promised that we were only scratching the surface of printmaking in this workshop, such was the range of possibilities and techniques in lino printing alone.
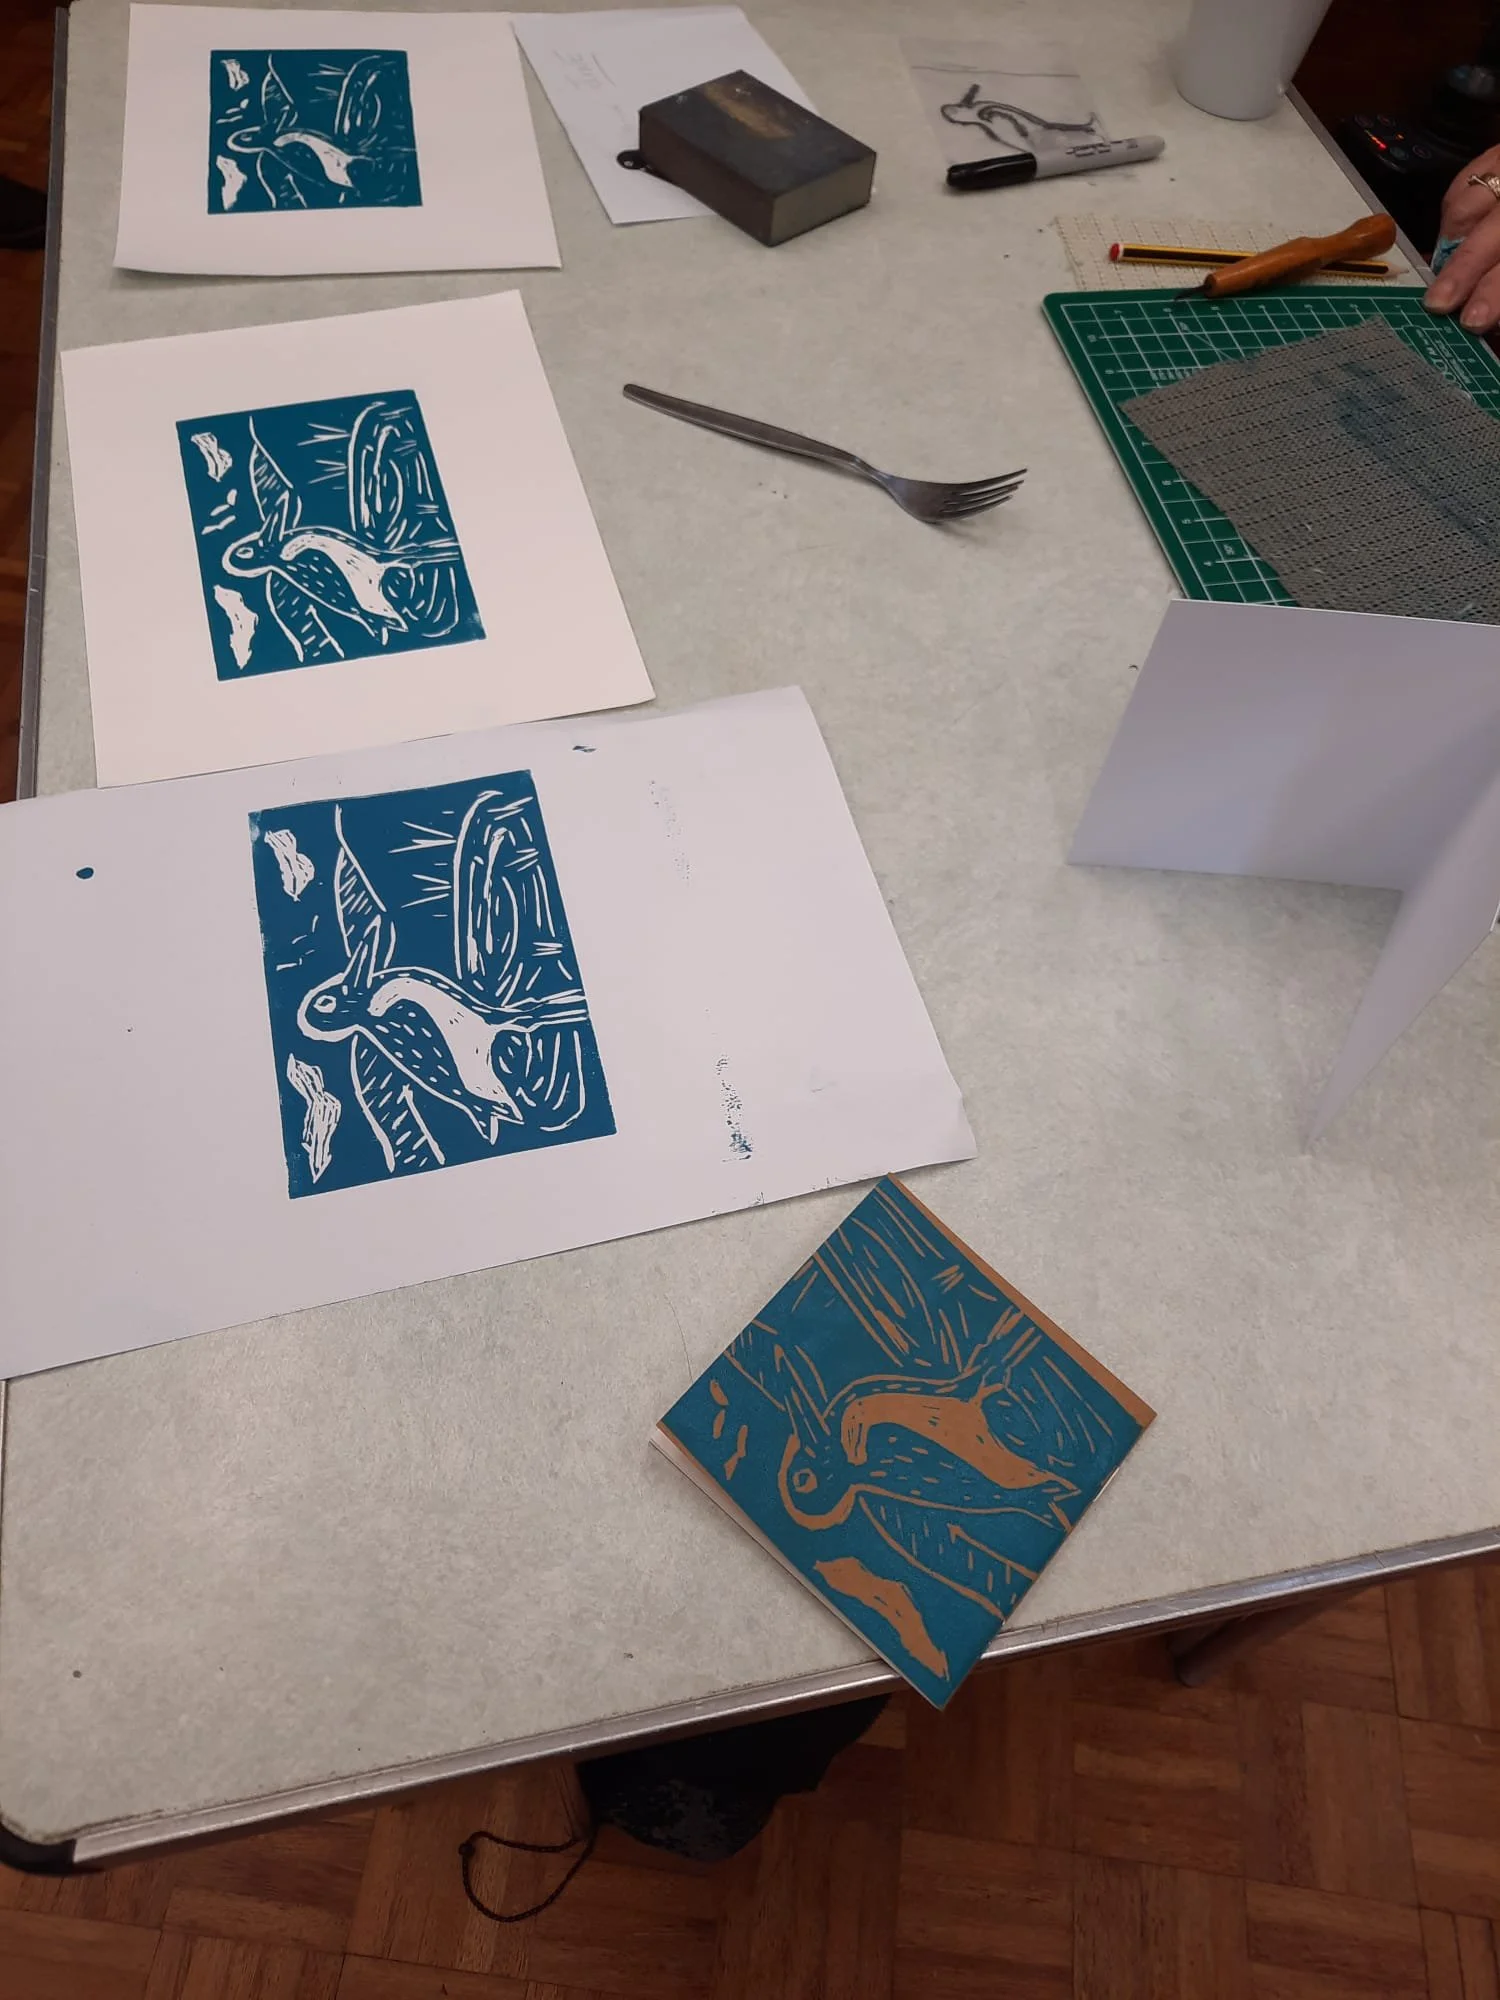
She provided us with a set of simple images which could be embellished as we pleased:
Colour the lino with a thin wash of acrylic so that any cuts will stand out. Allow it to dry, then sand the surface using a fine sanding block to give it a key to encourage the ink to settle evenly.
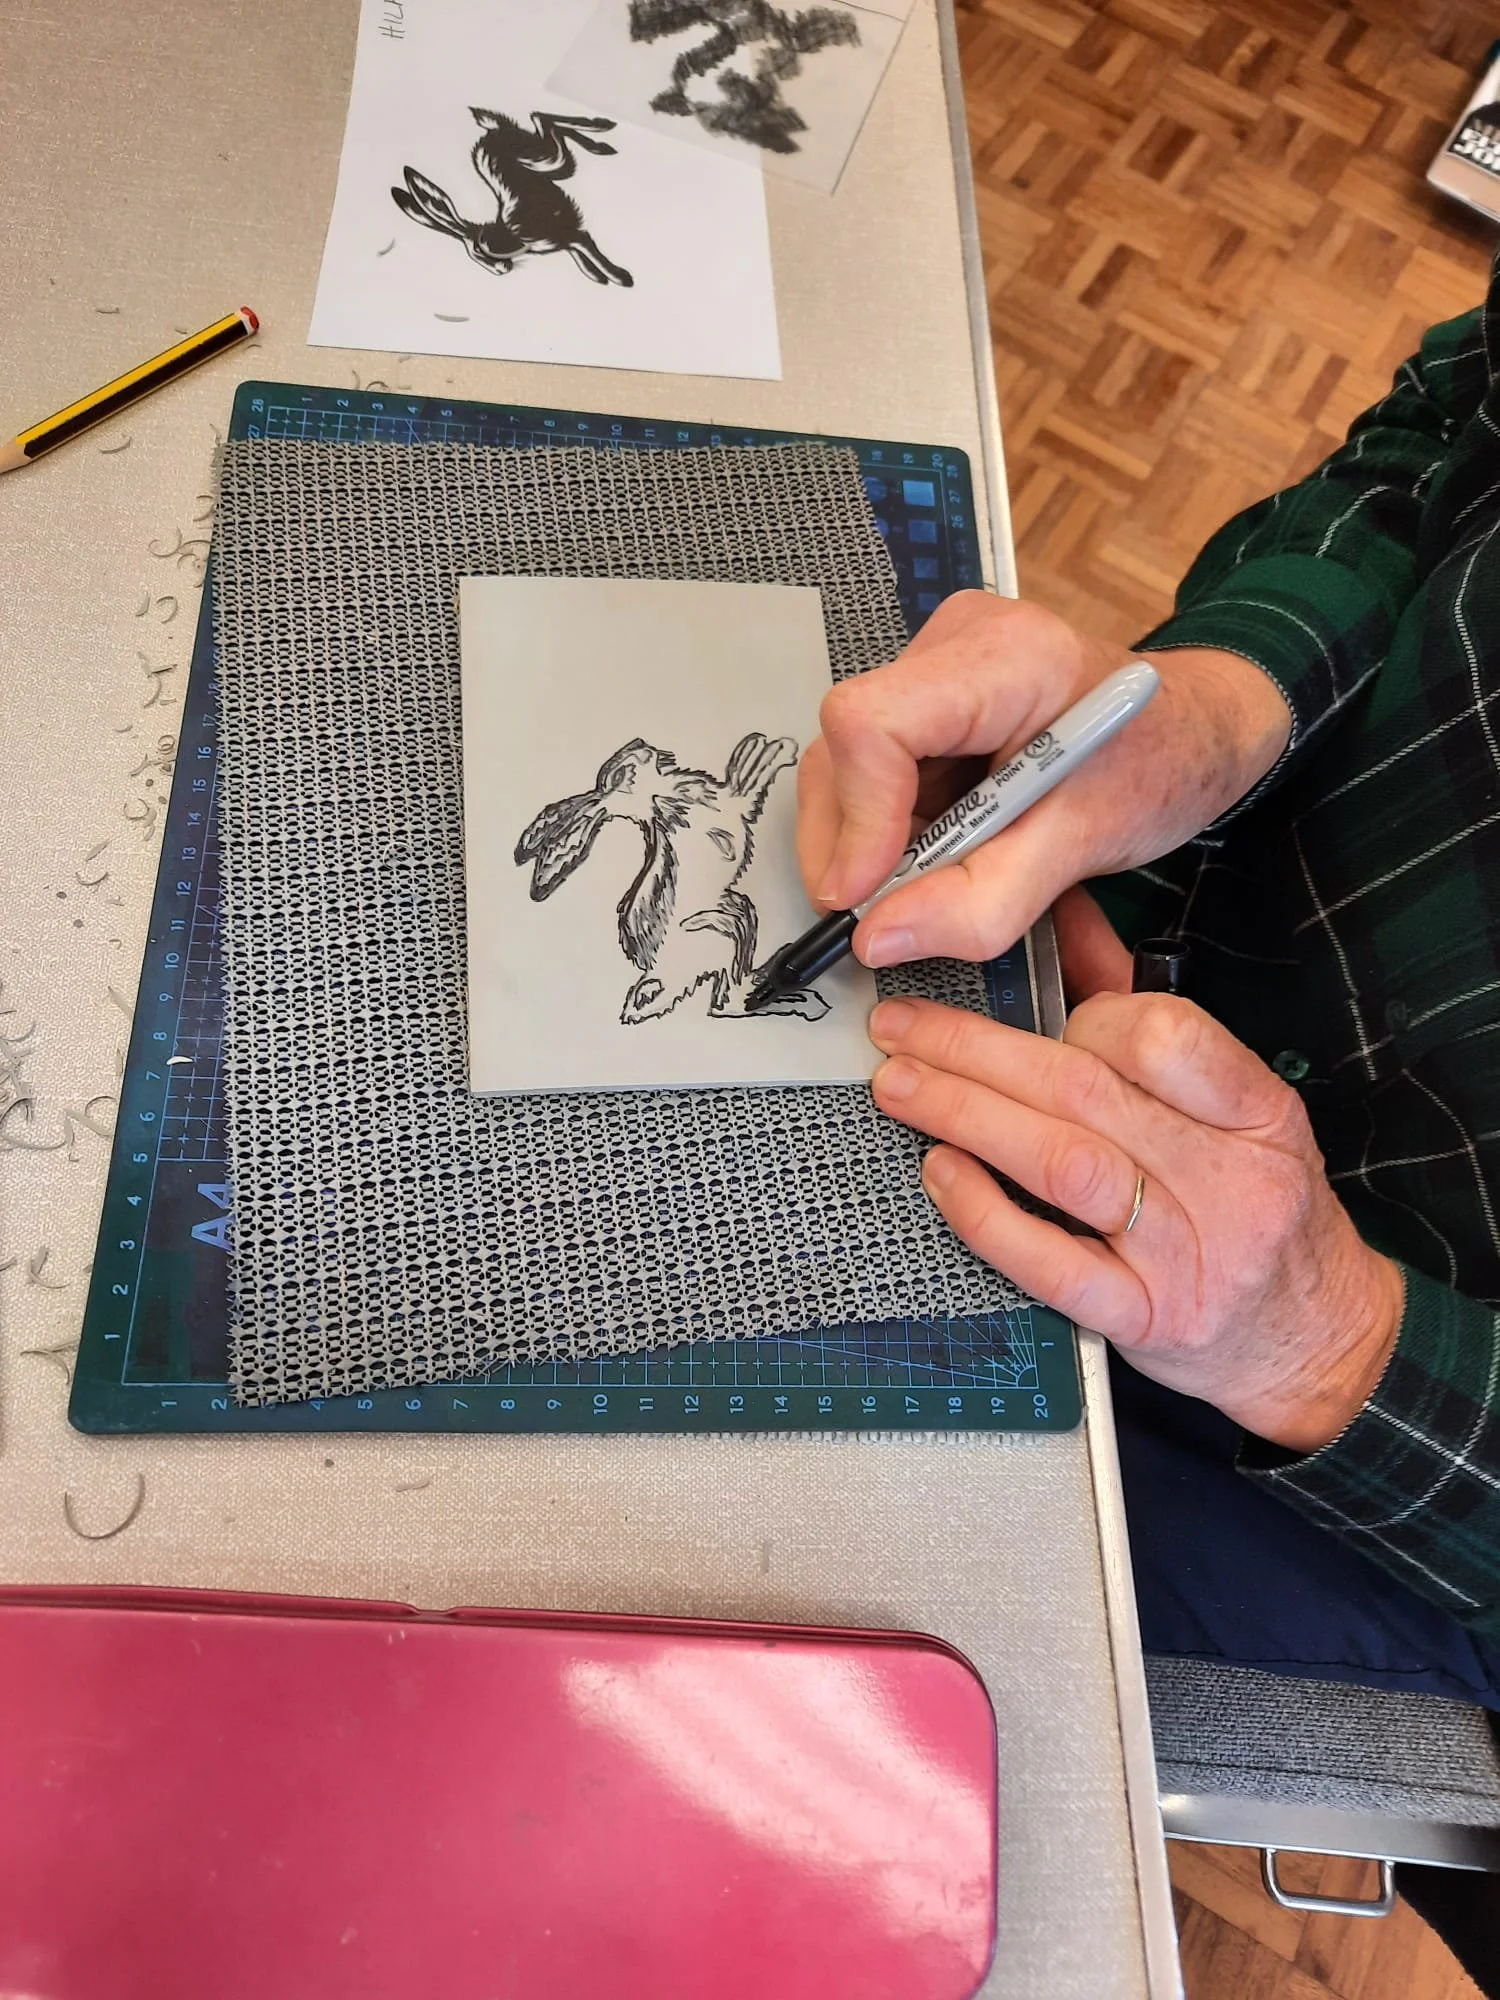
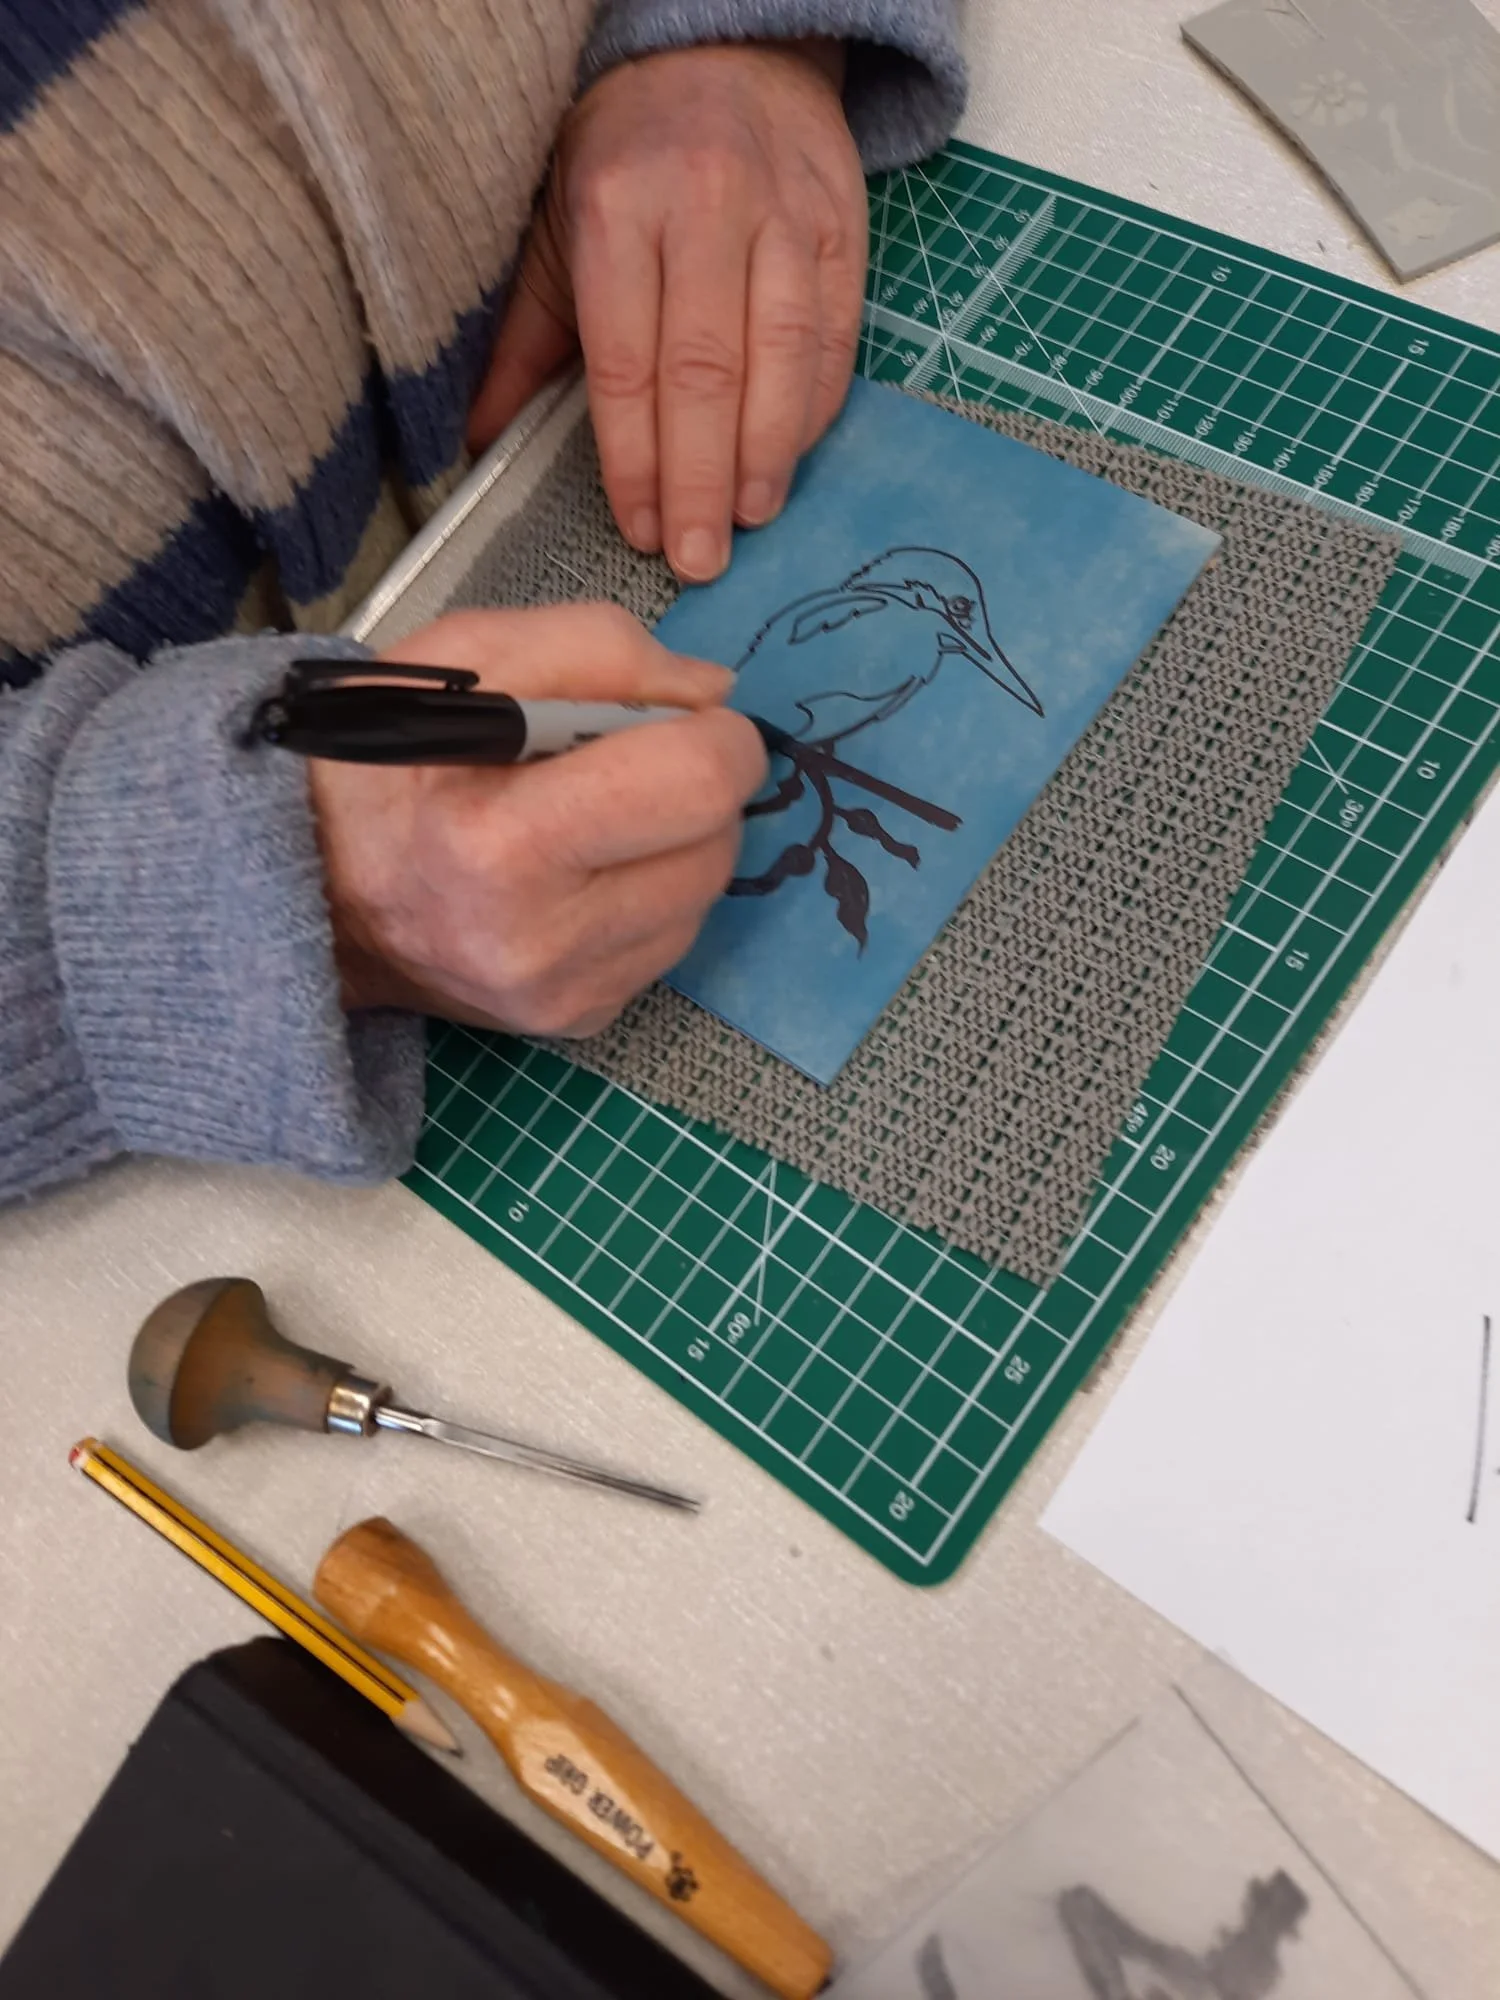
Trace the image (bearing in mind that everything we print will be mirrored - not much of a problem for images, but needing careful thought when producing lettering.)
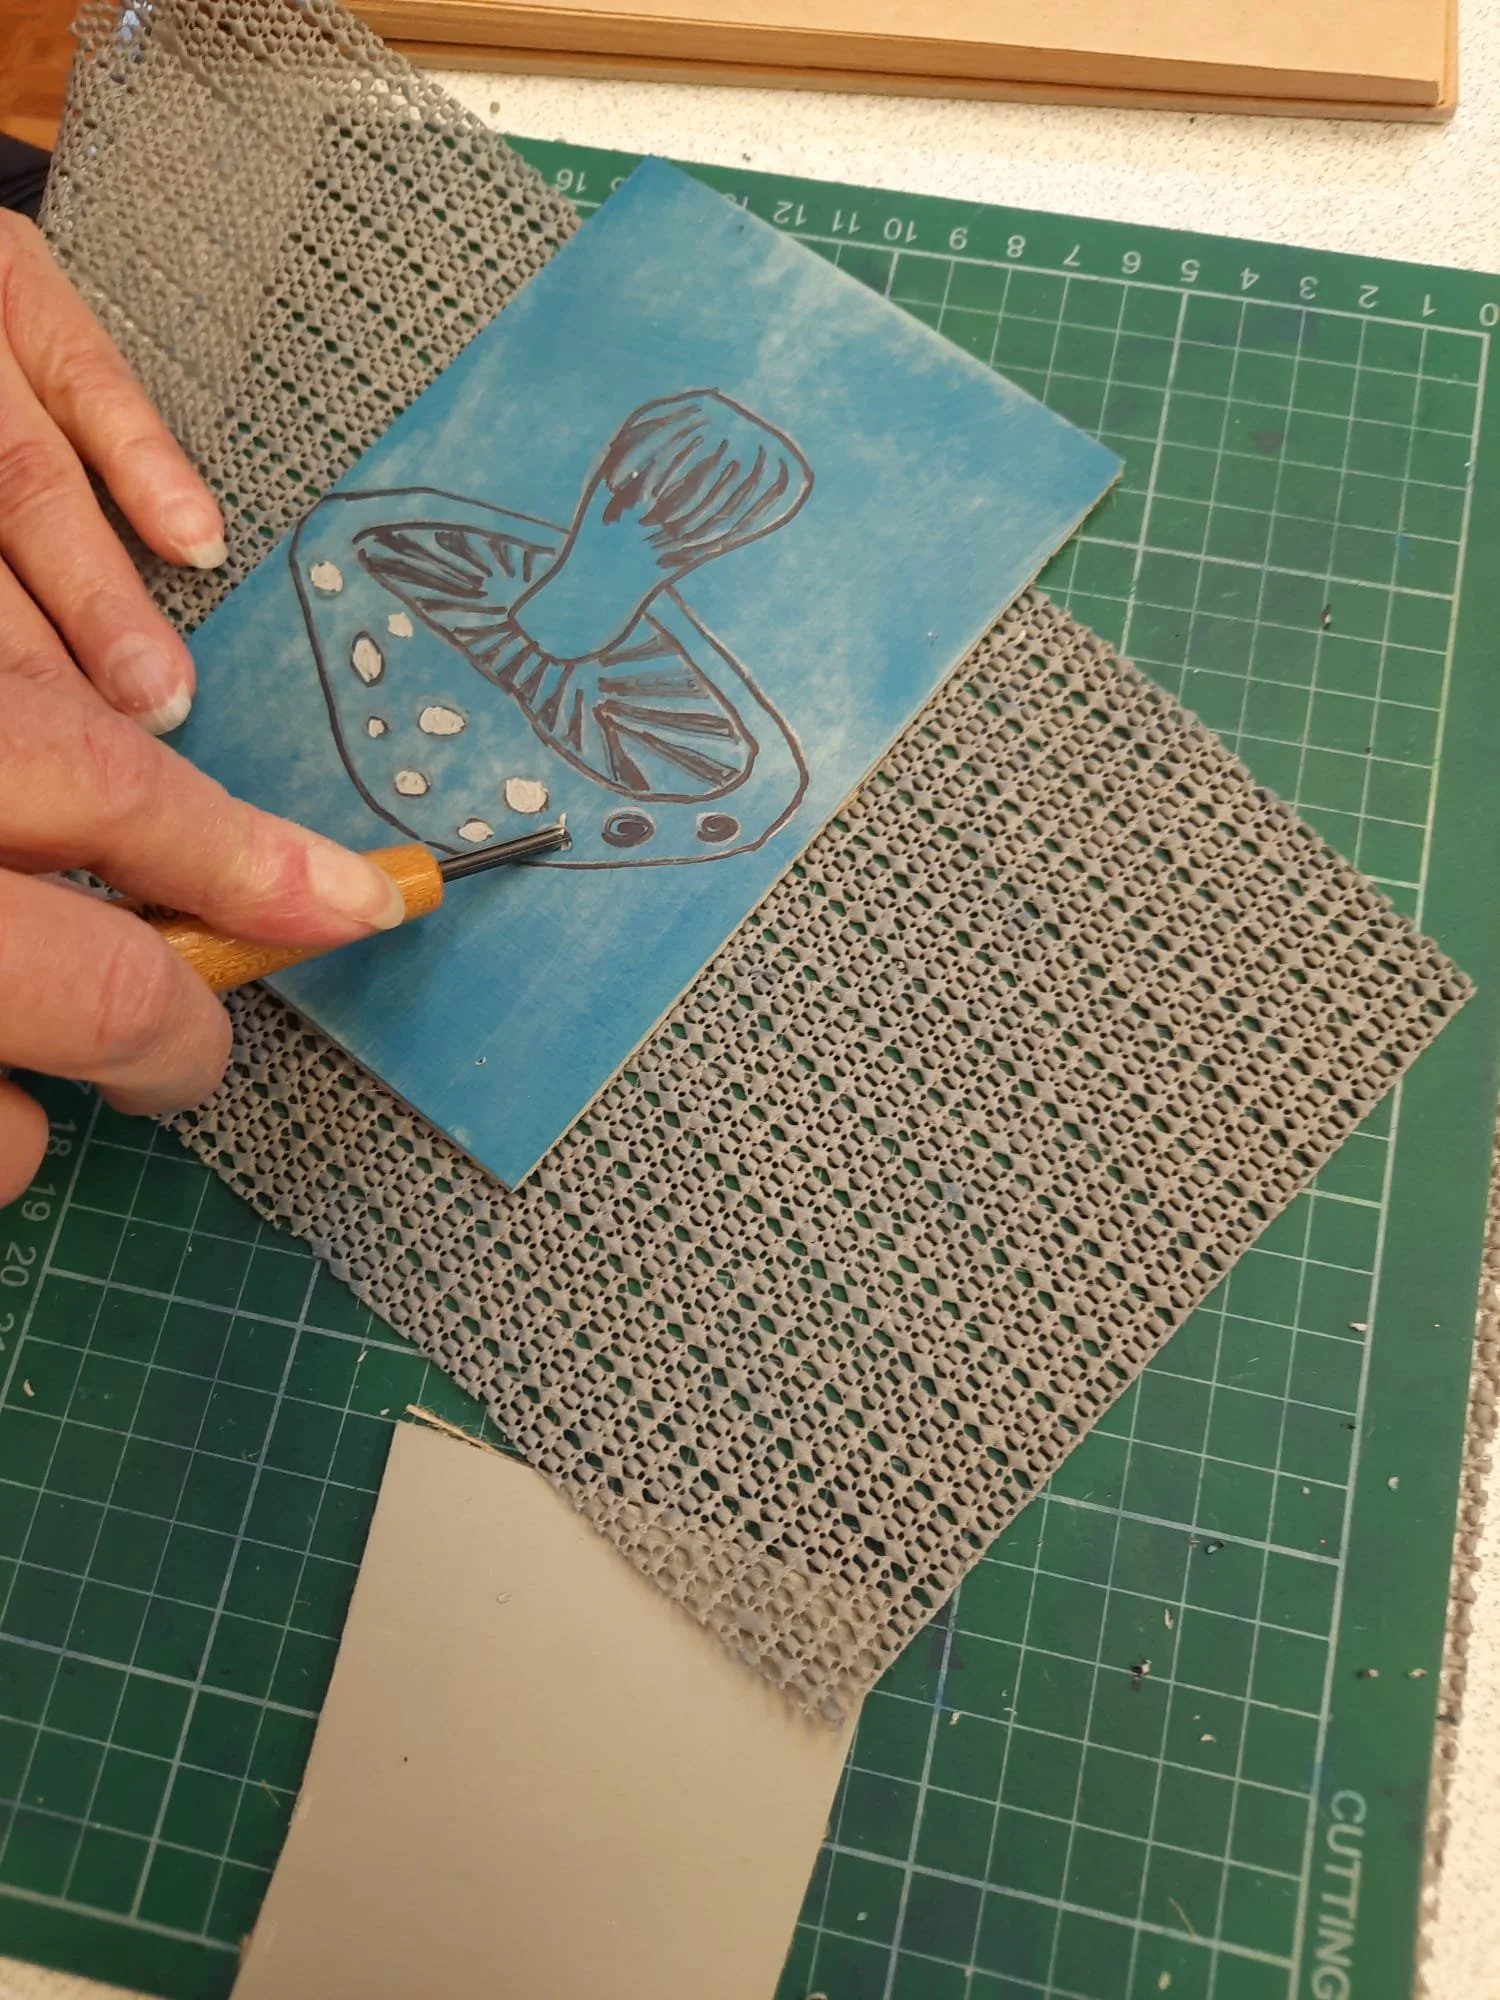
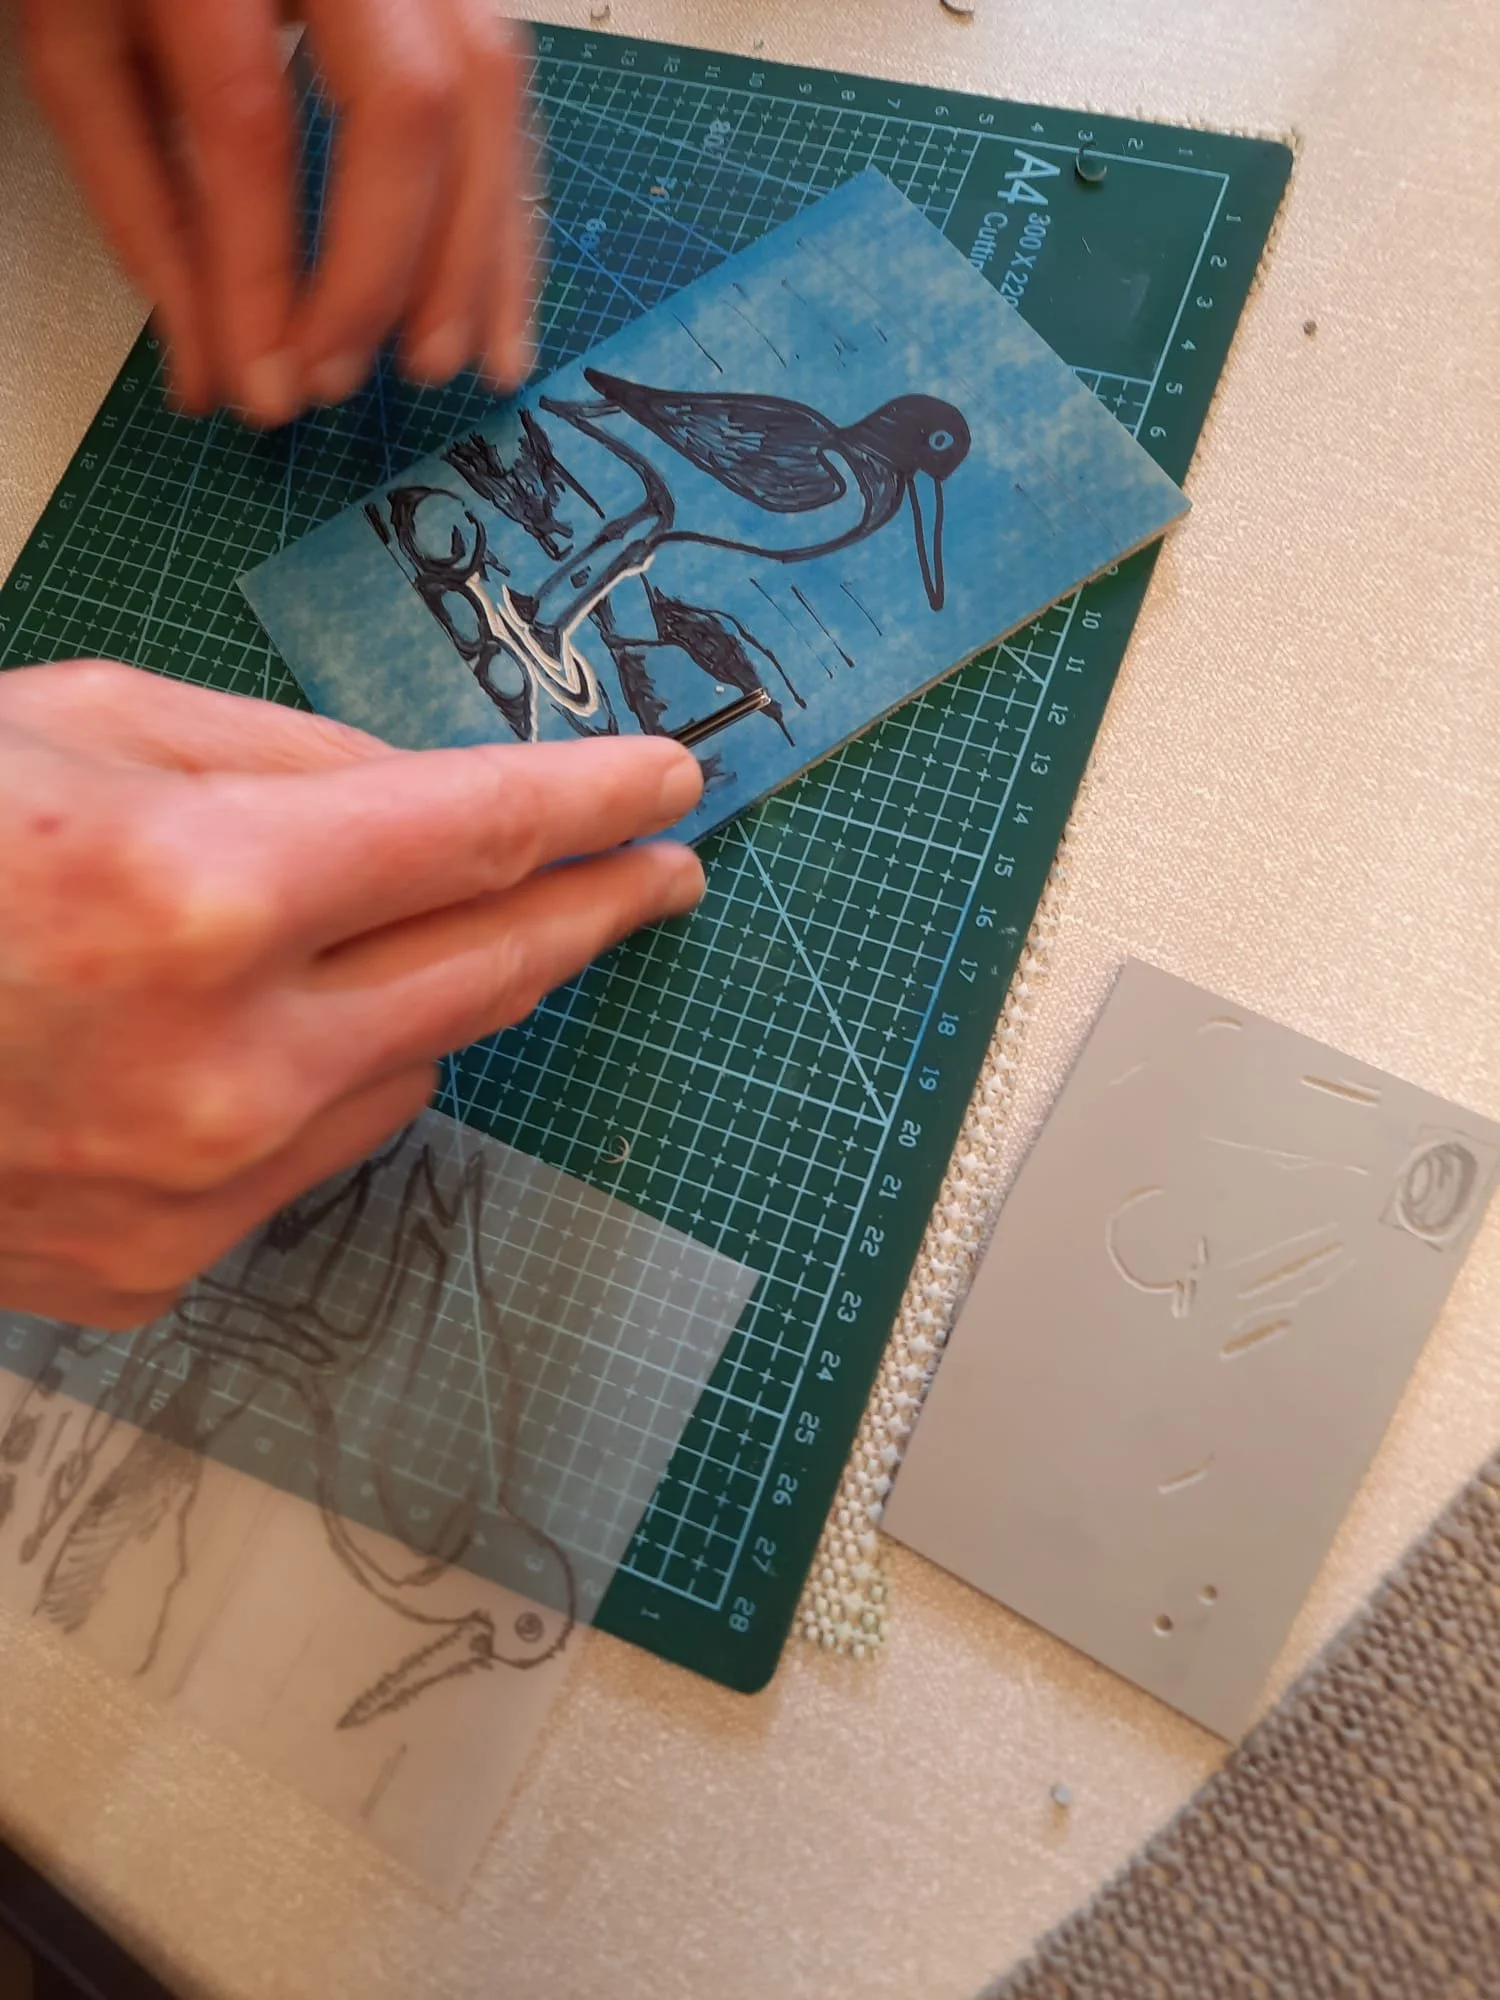
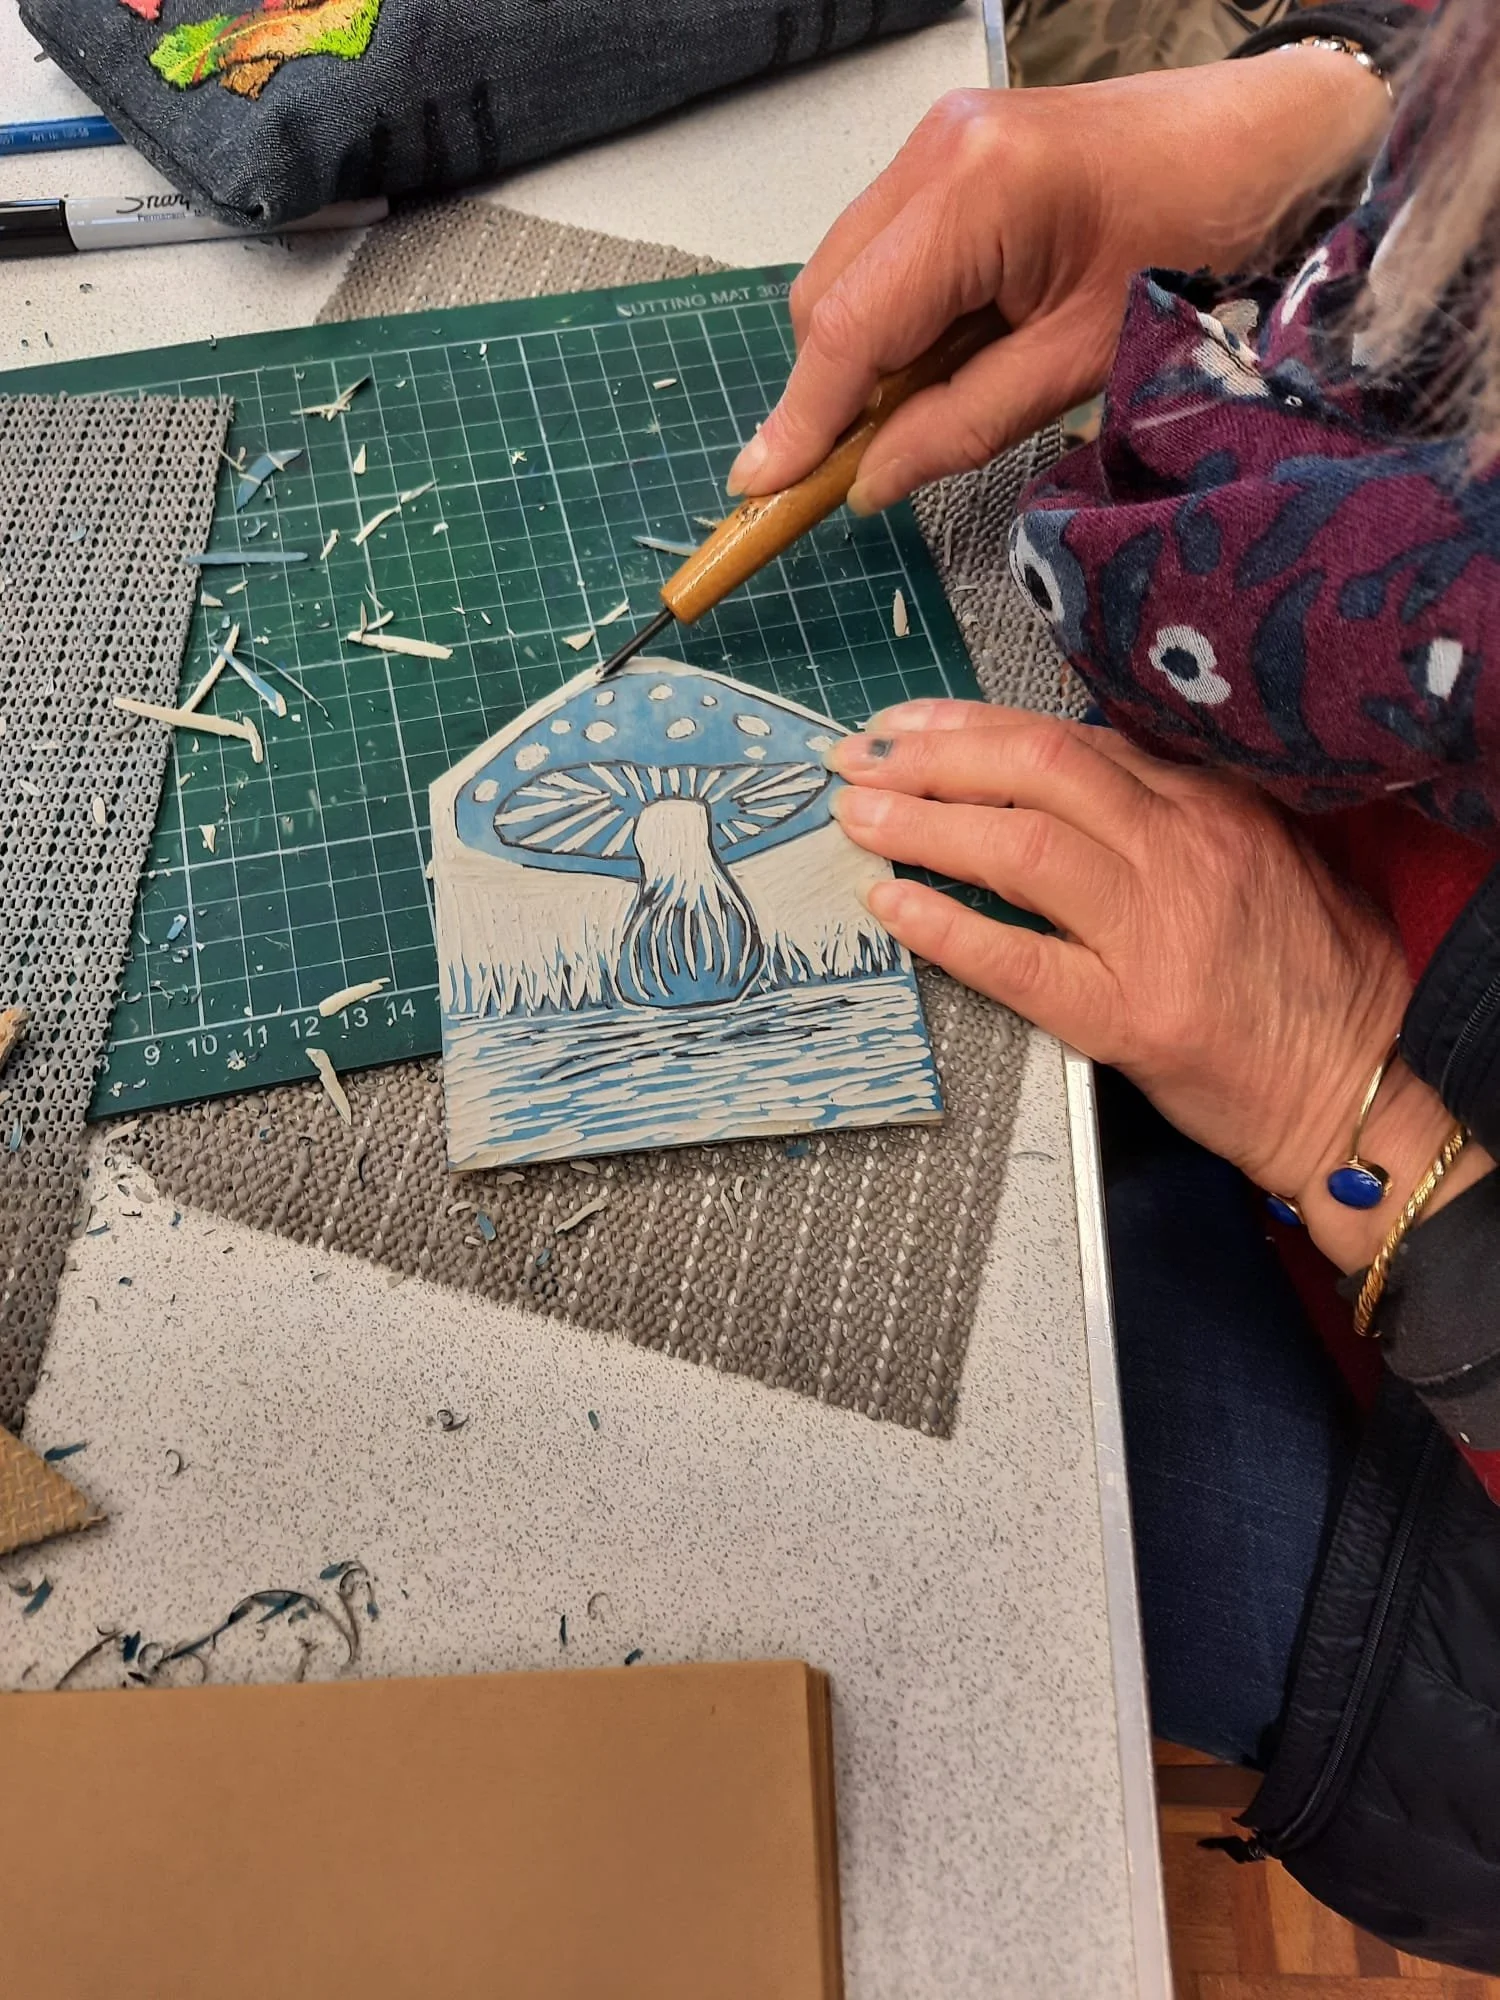
Transfer the image to the lino. Go over the lines and areas to remain black with a felt tip to give a clear guide for your cutting tool.
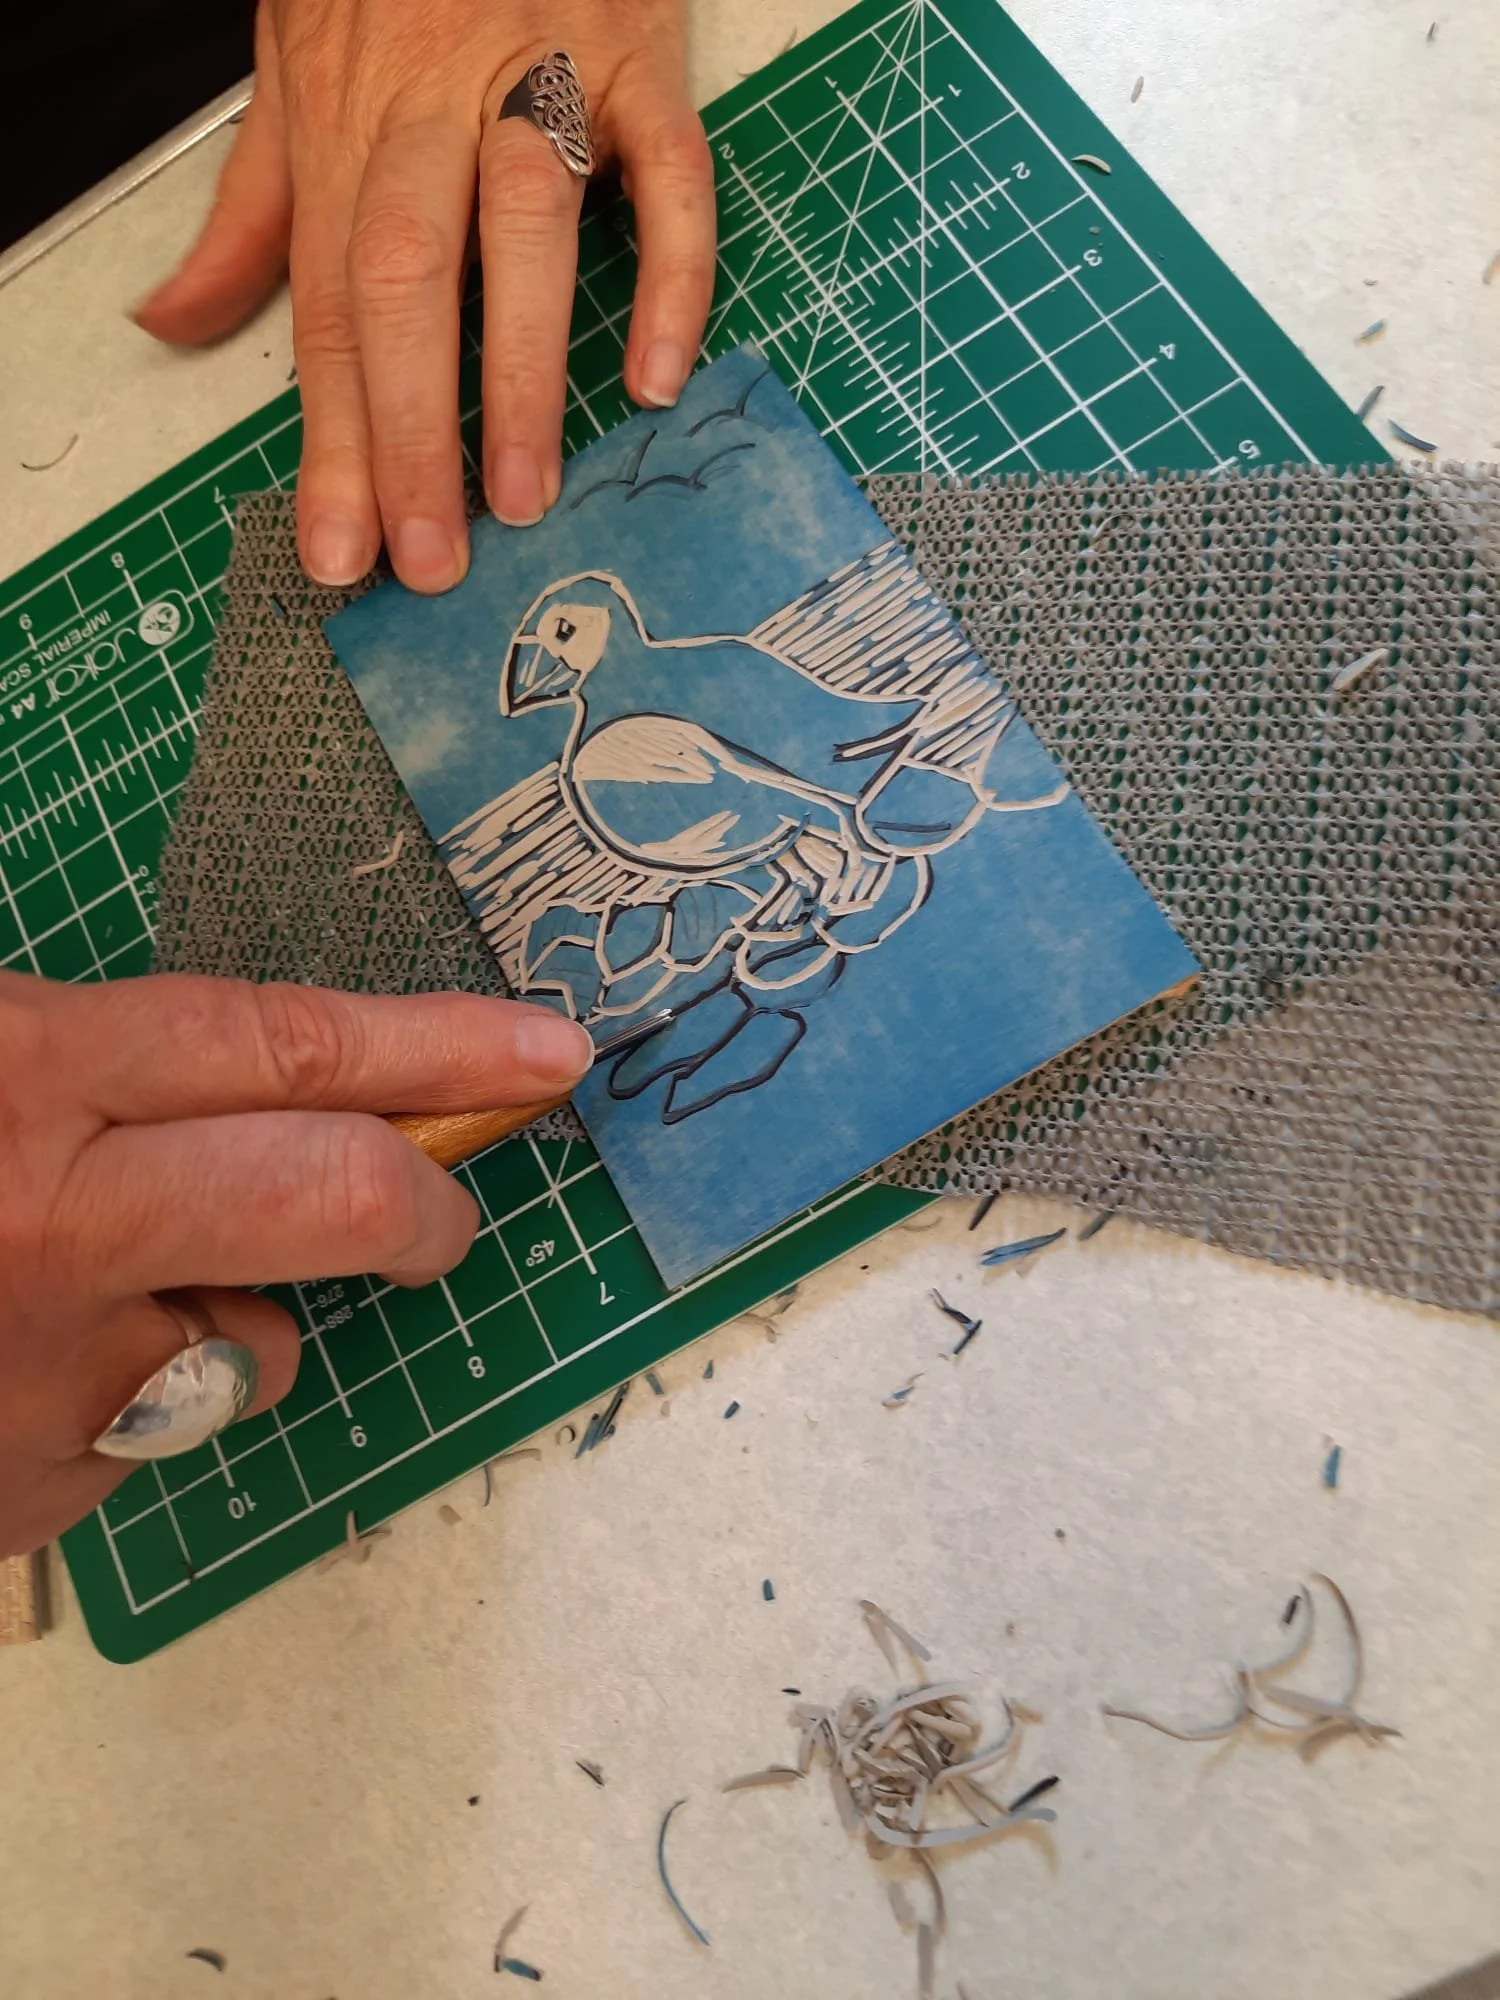
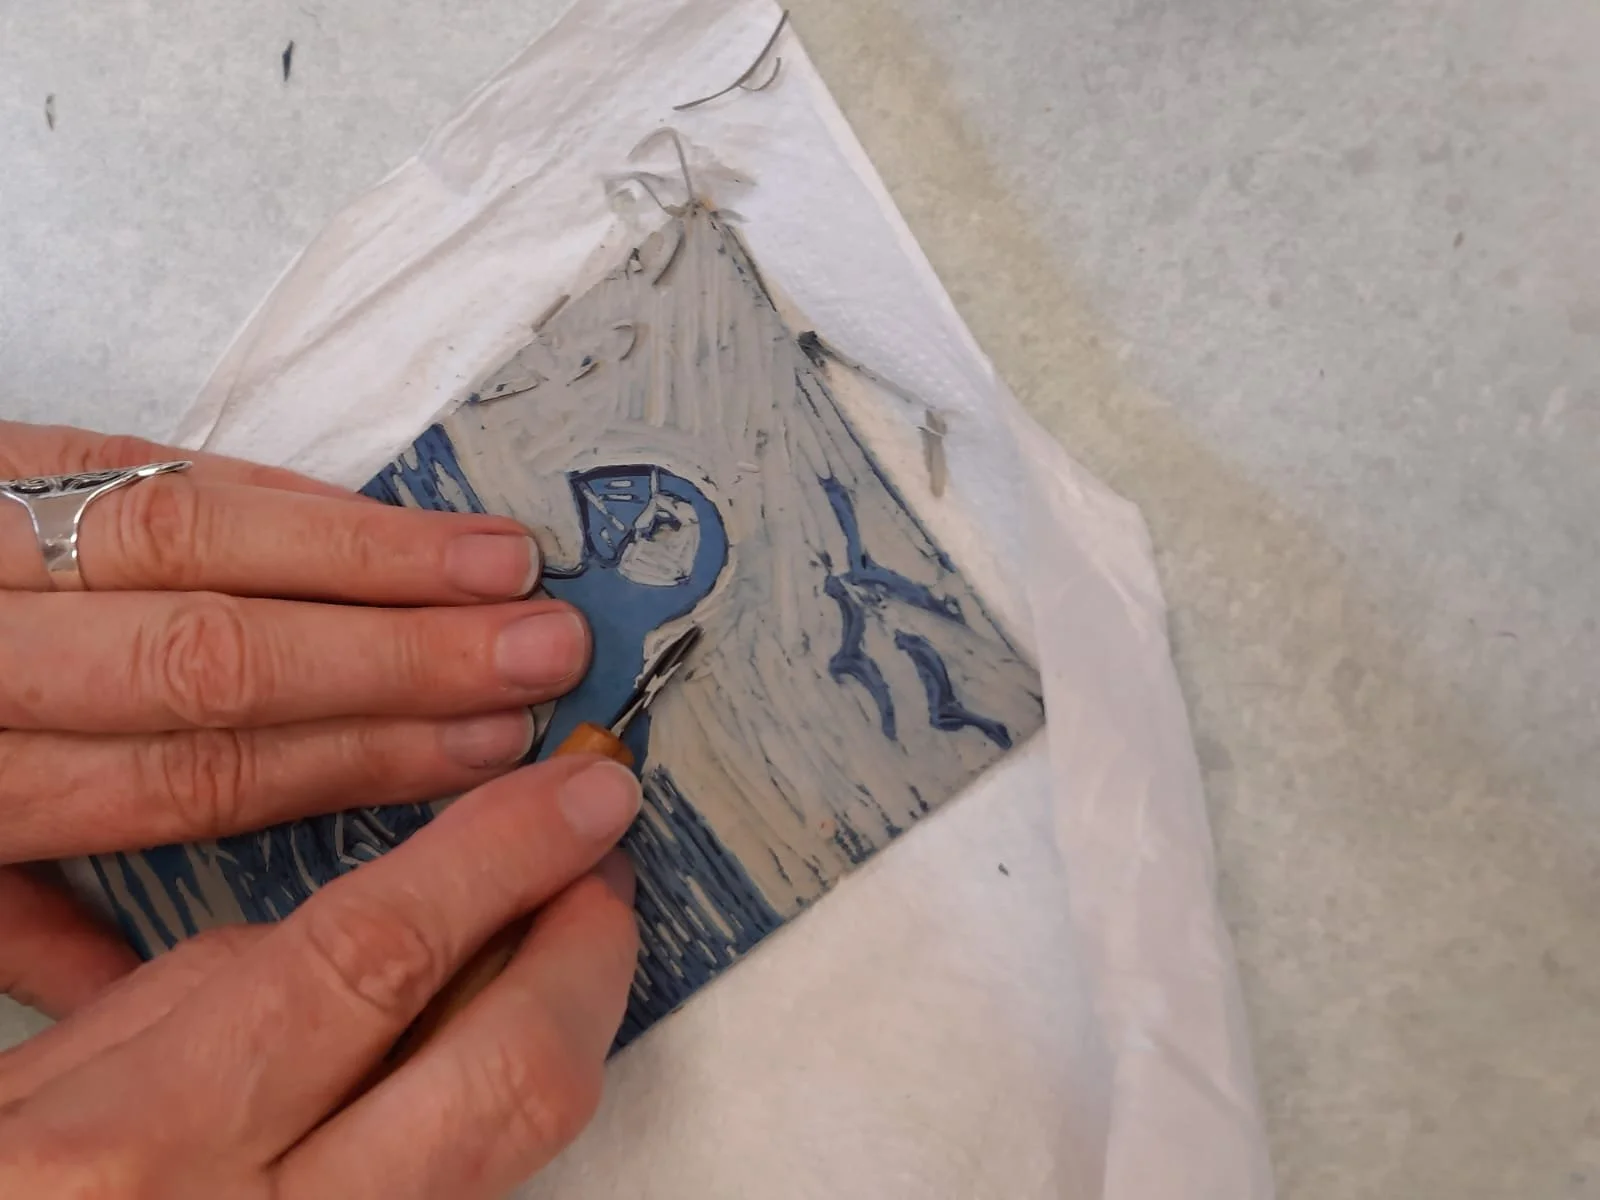
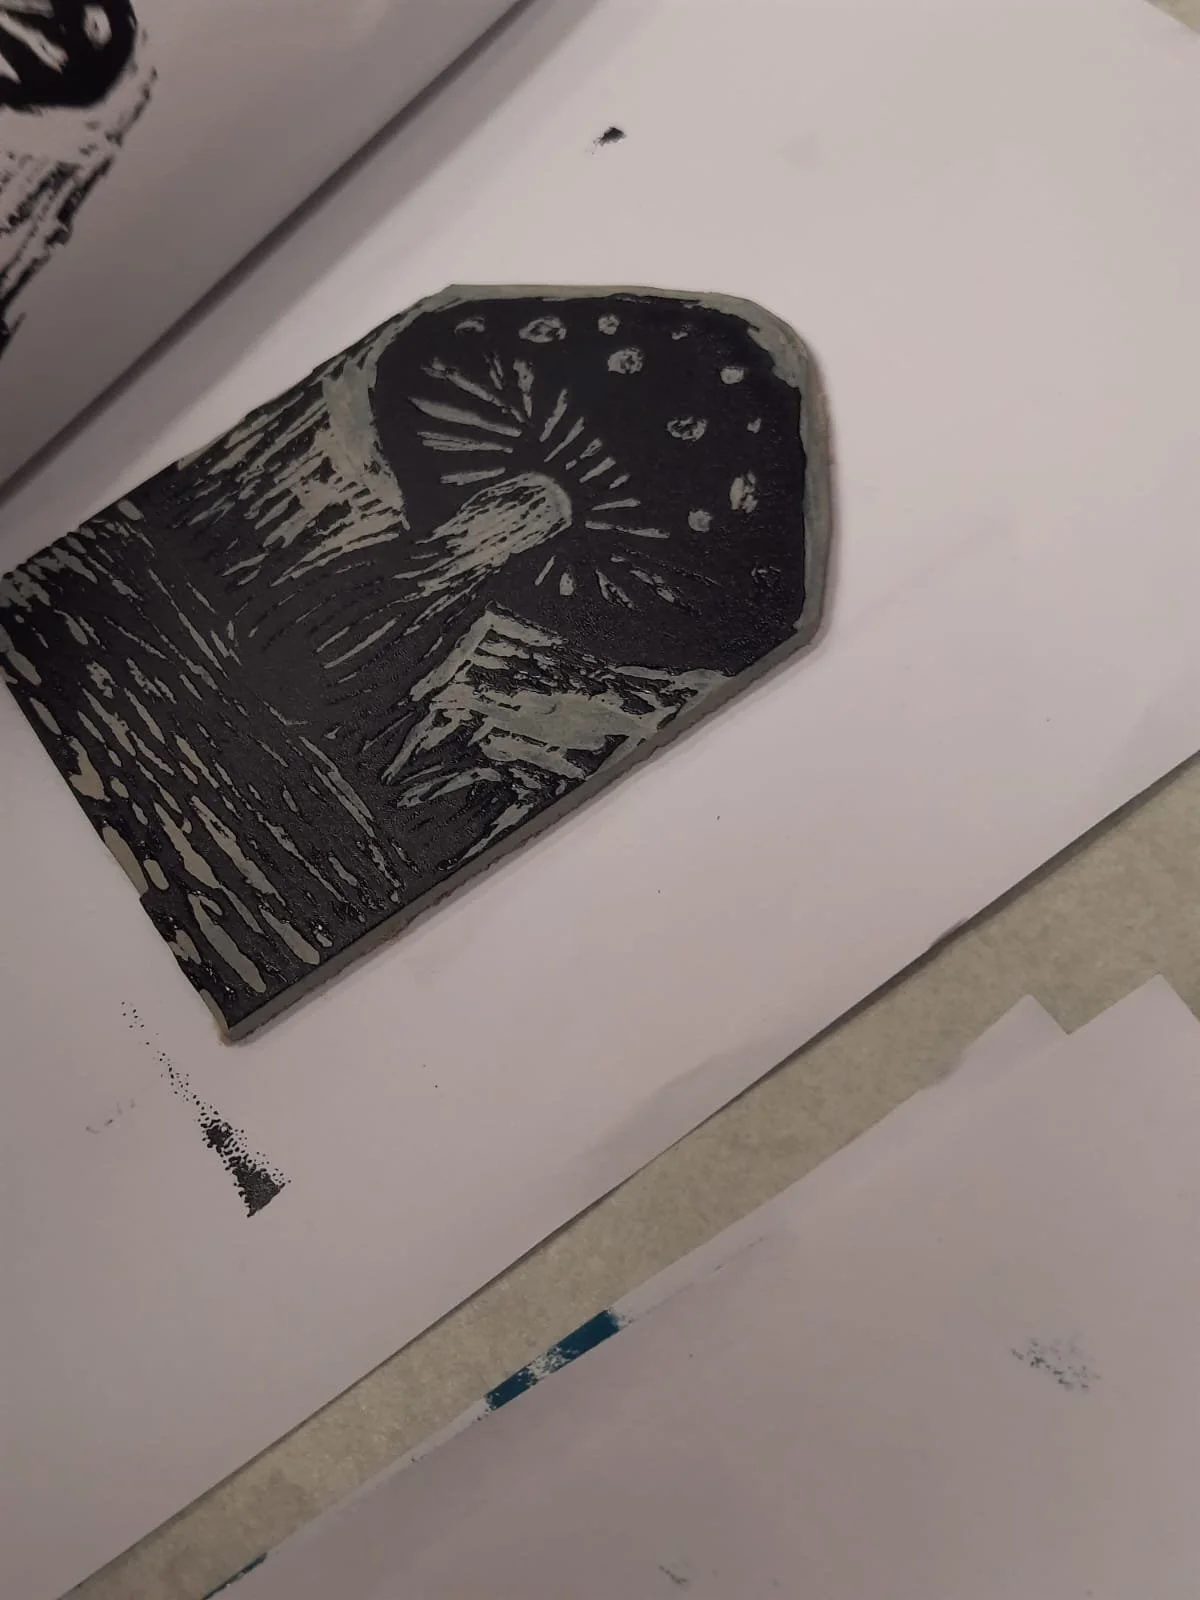
Carve your design. Cut away from yourself to avoid accidents - we all had cutting boards on non slip fabric to give some resistance when carving.
When the carving is finished, sand the surface again, ensuring the felt tip marks are removed as they might resist the printing ink.
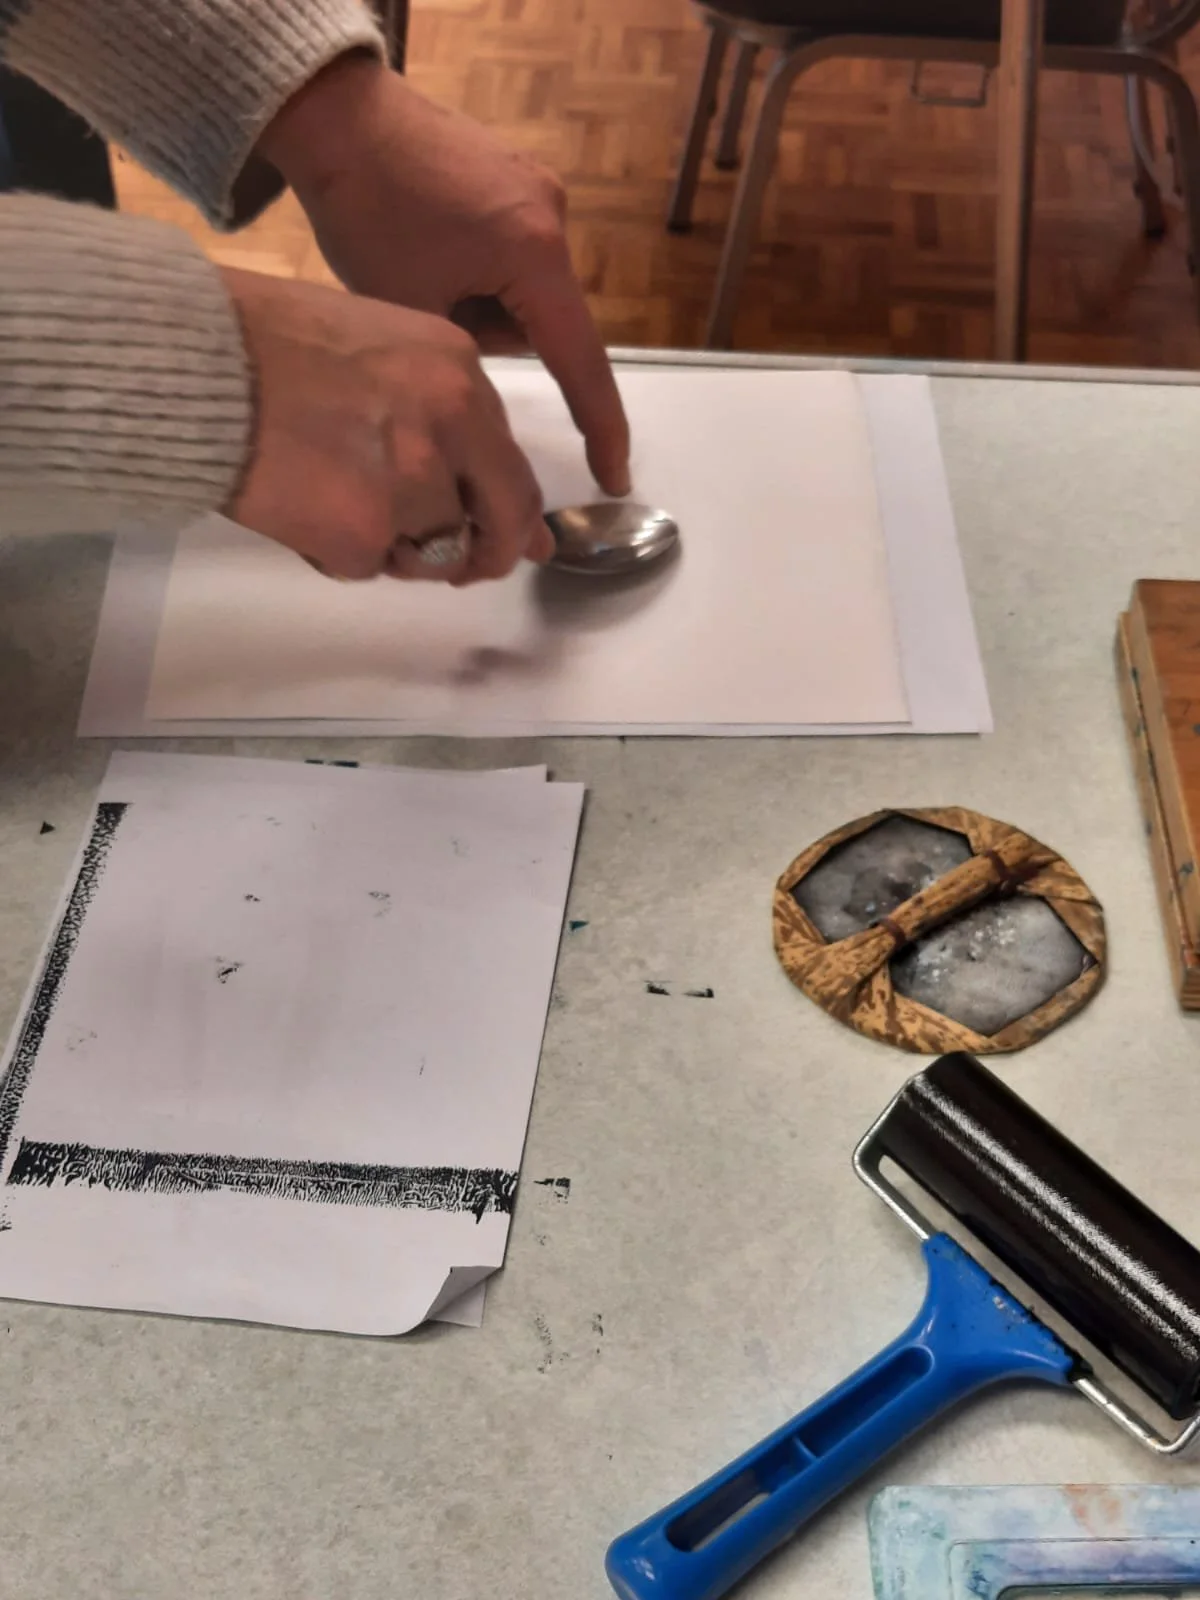
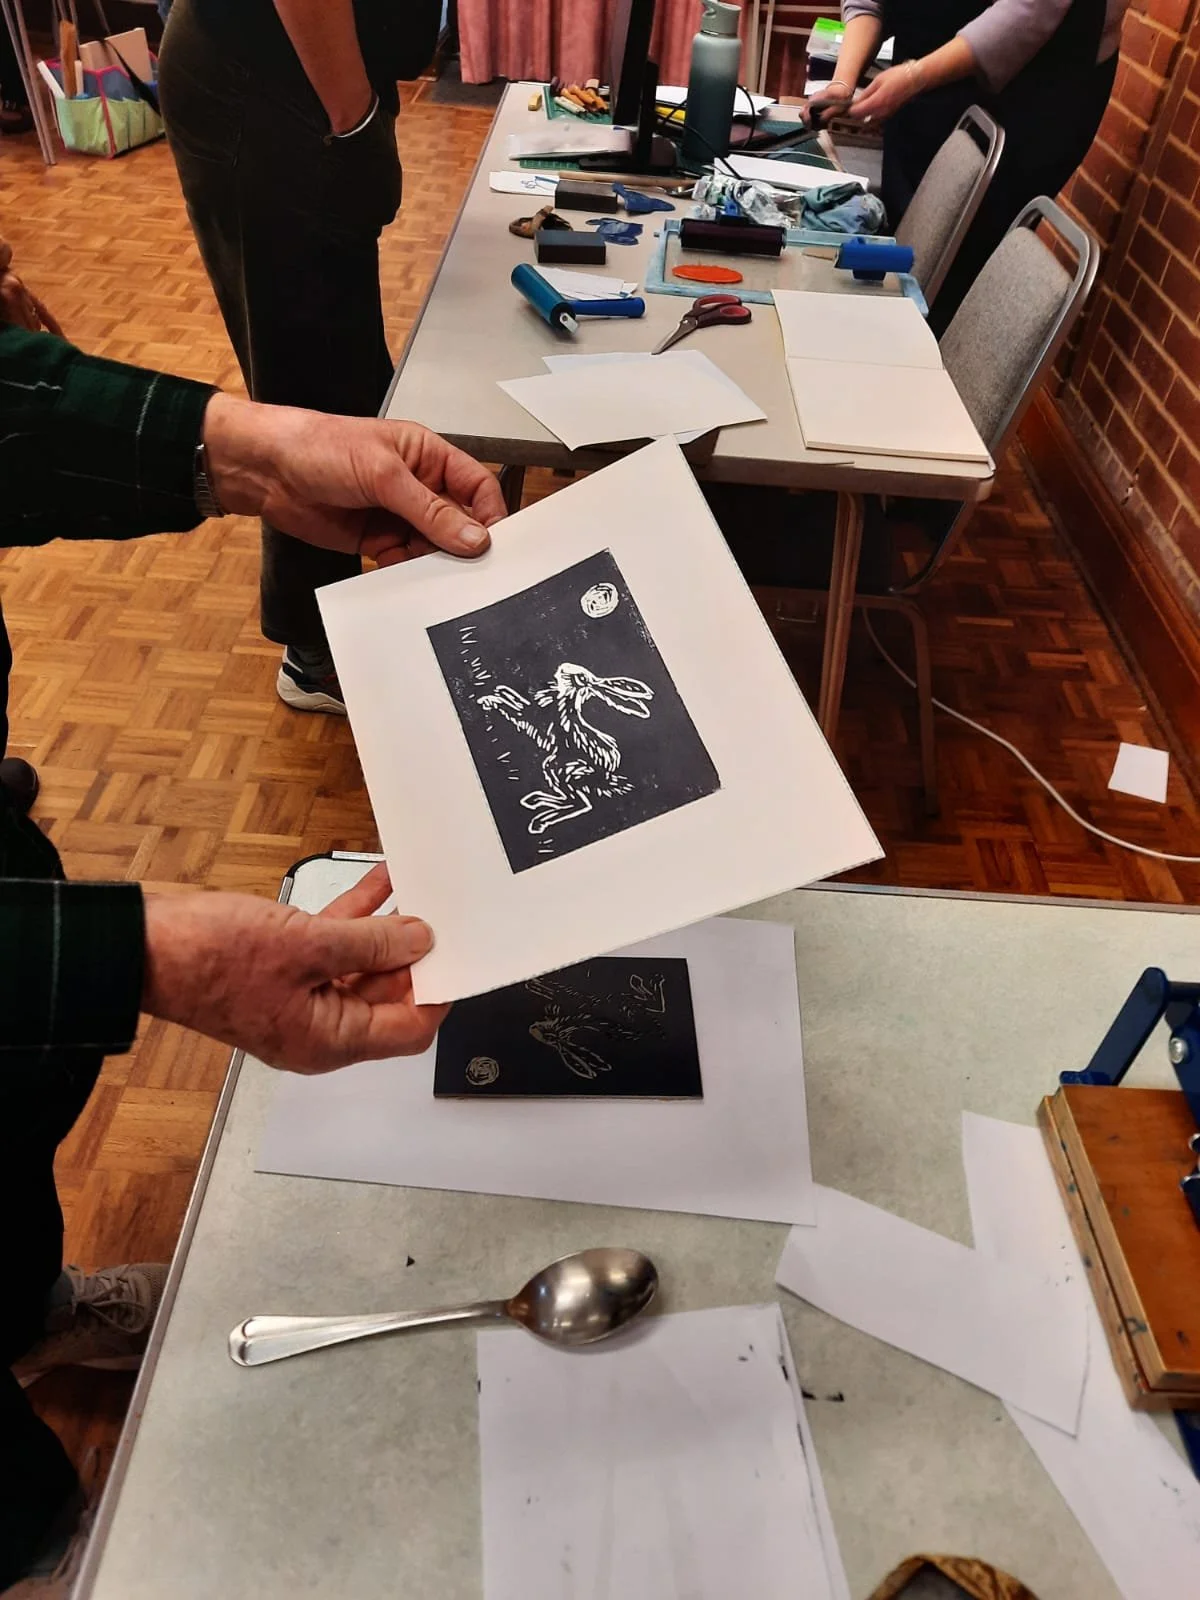
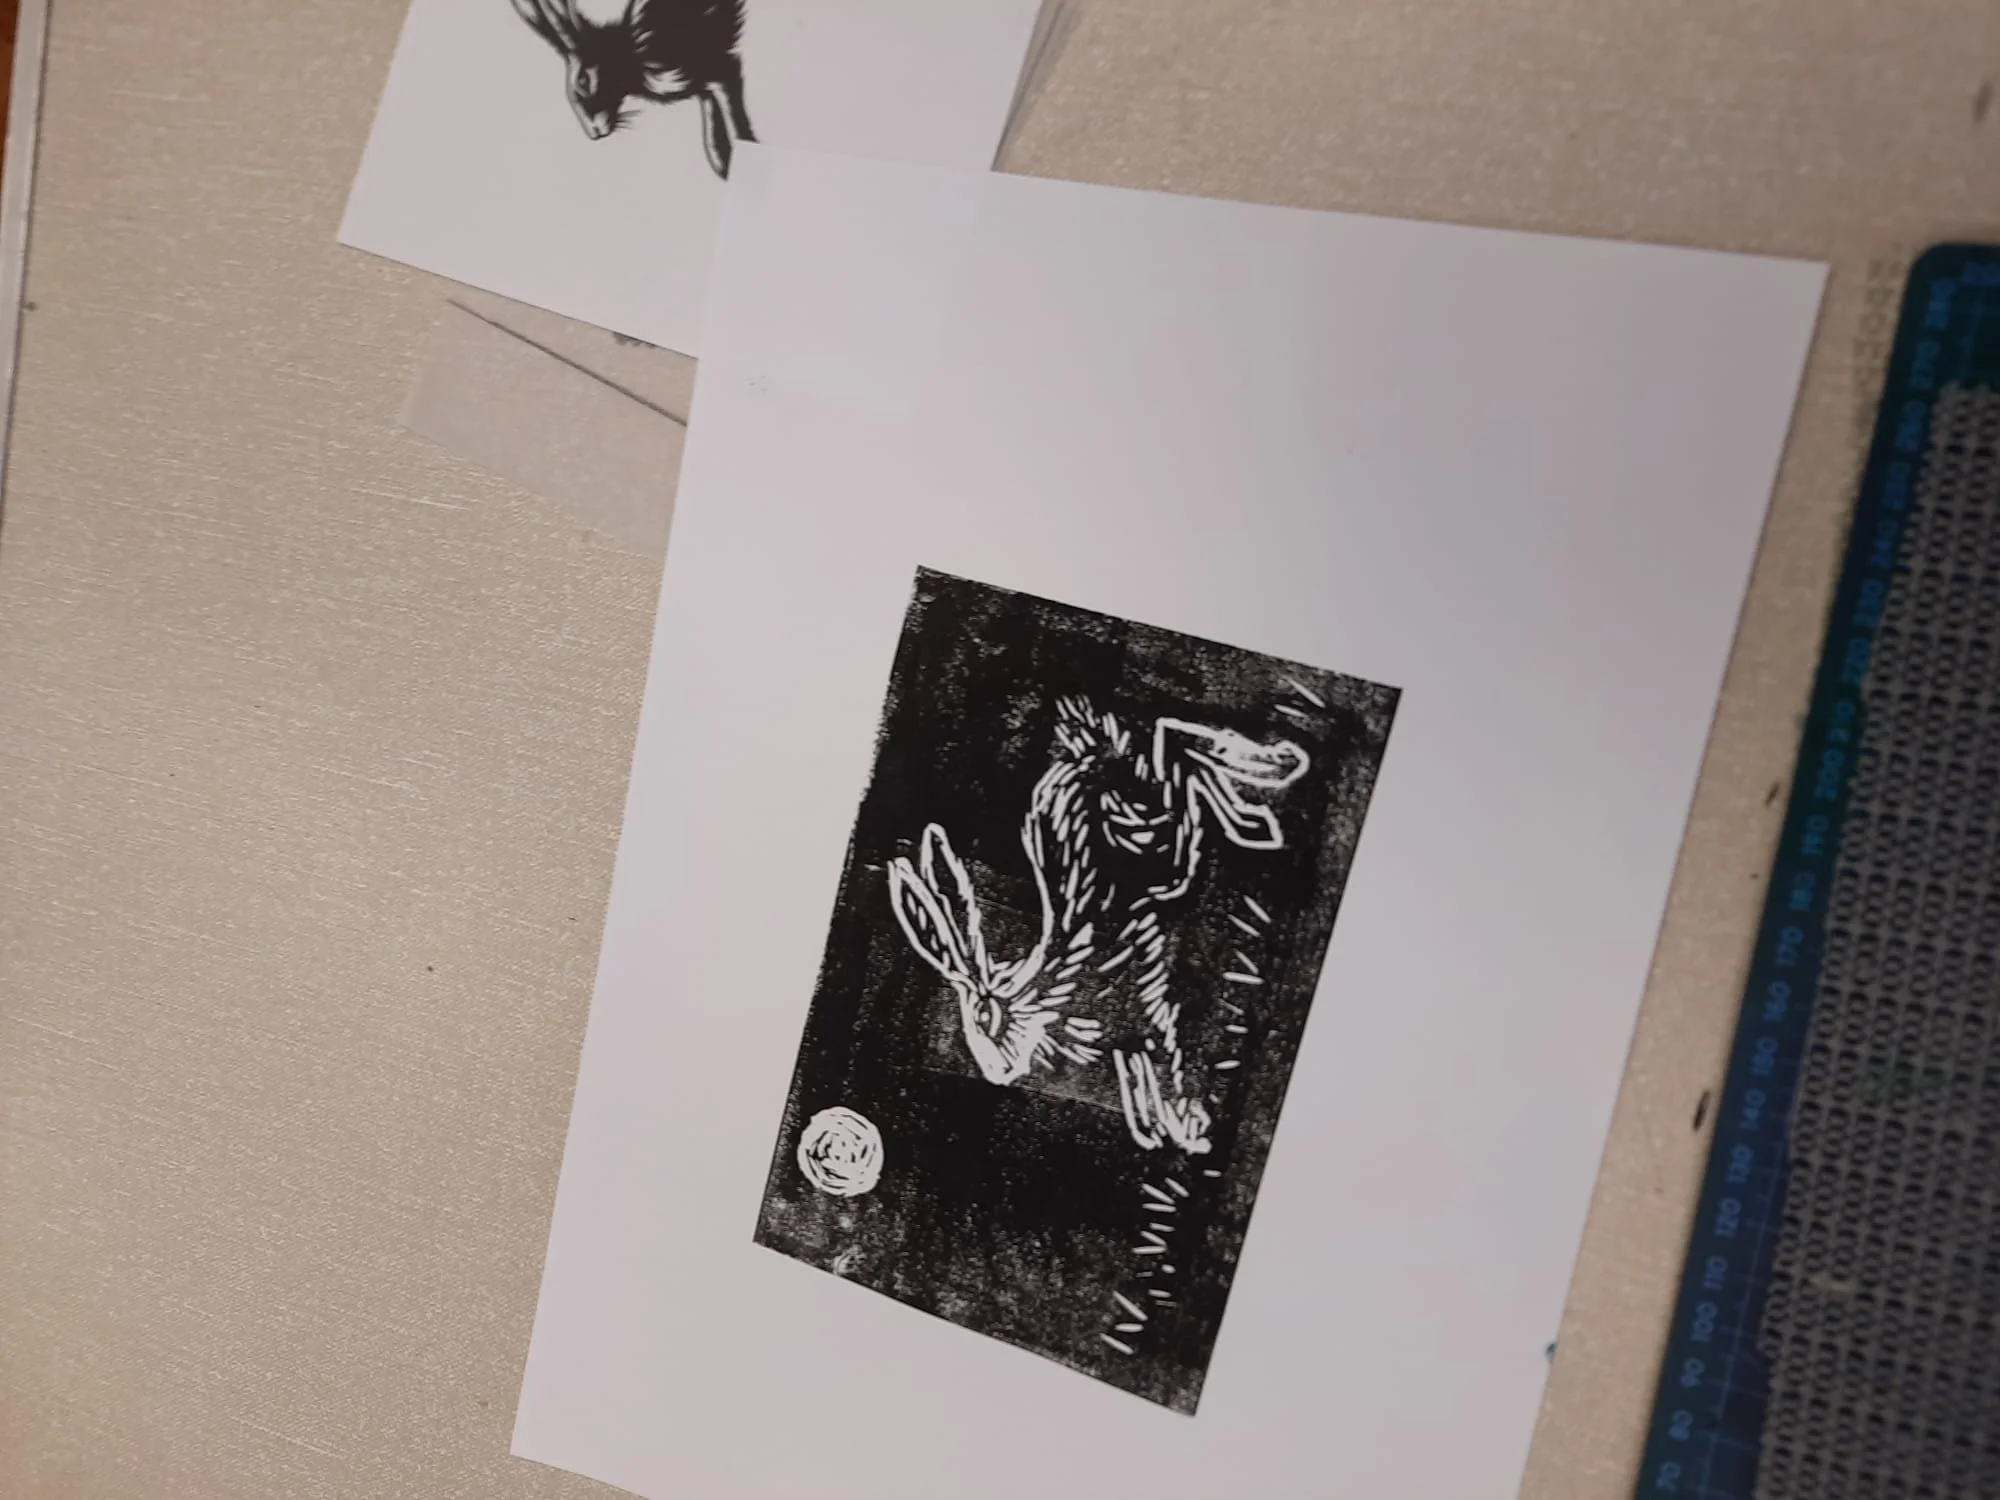
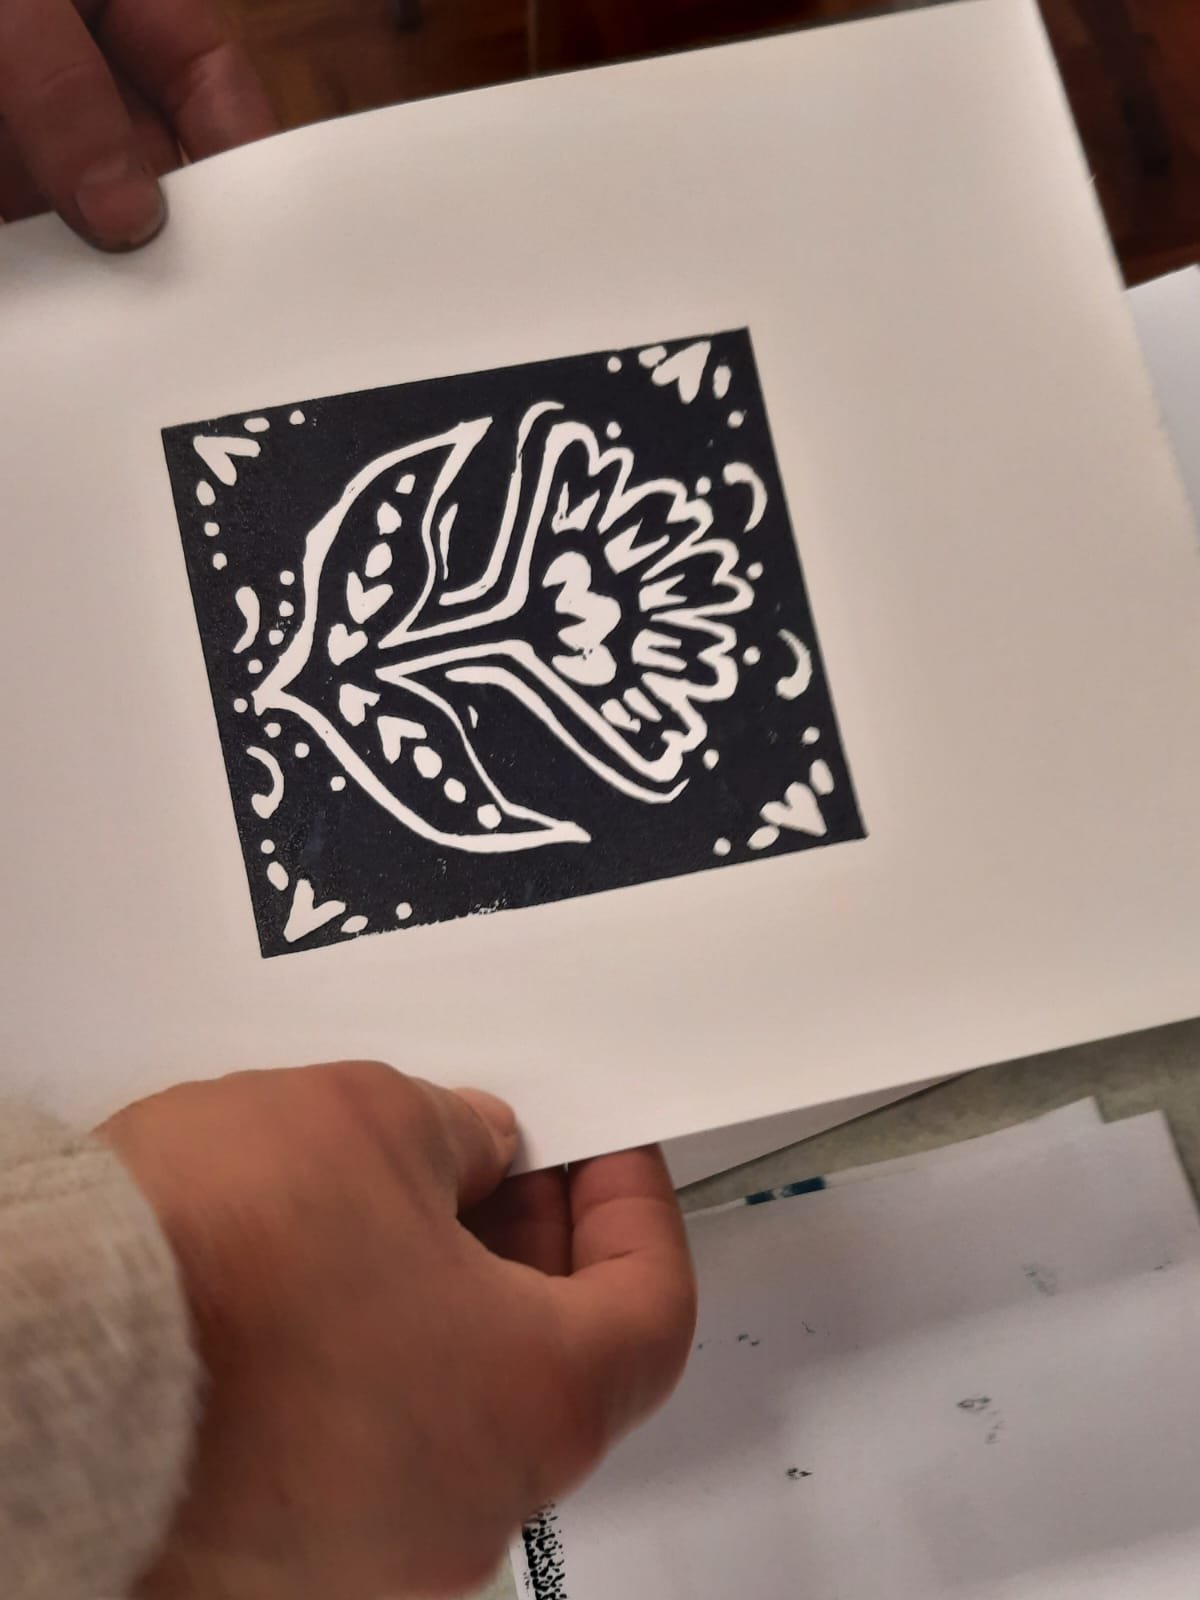
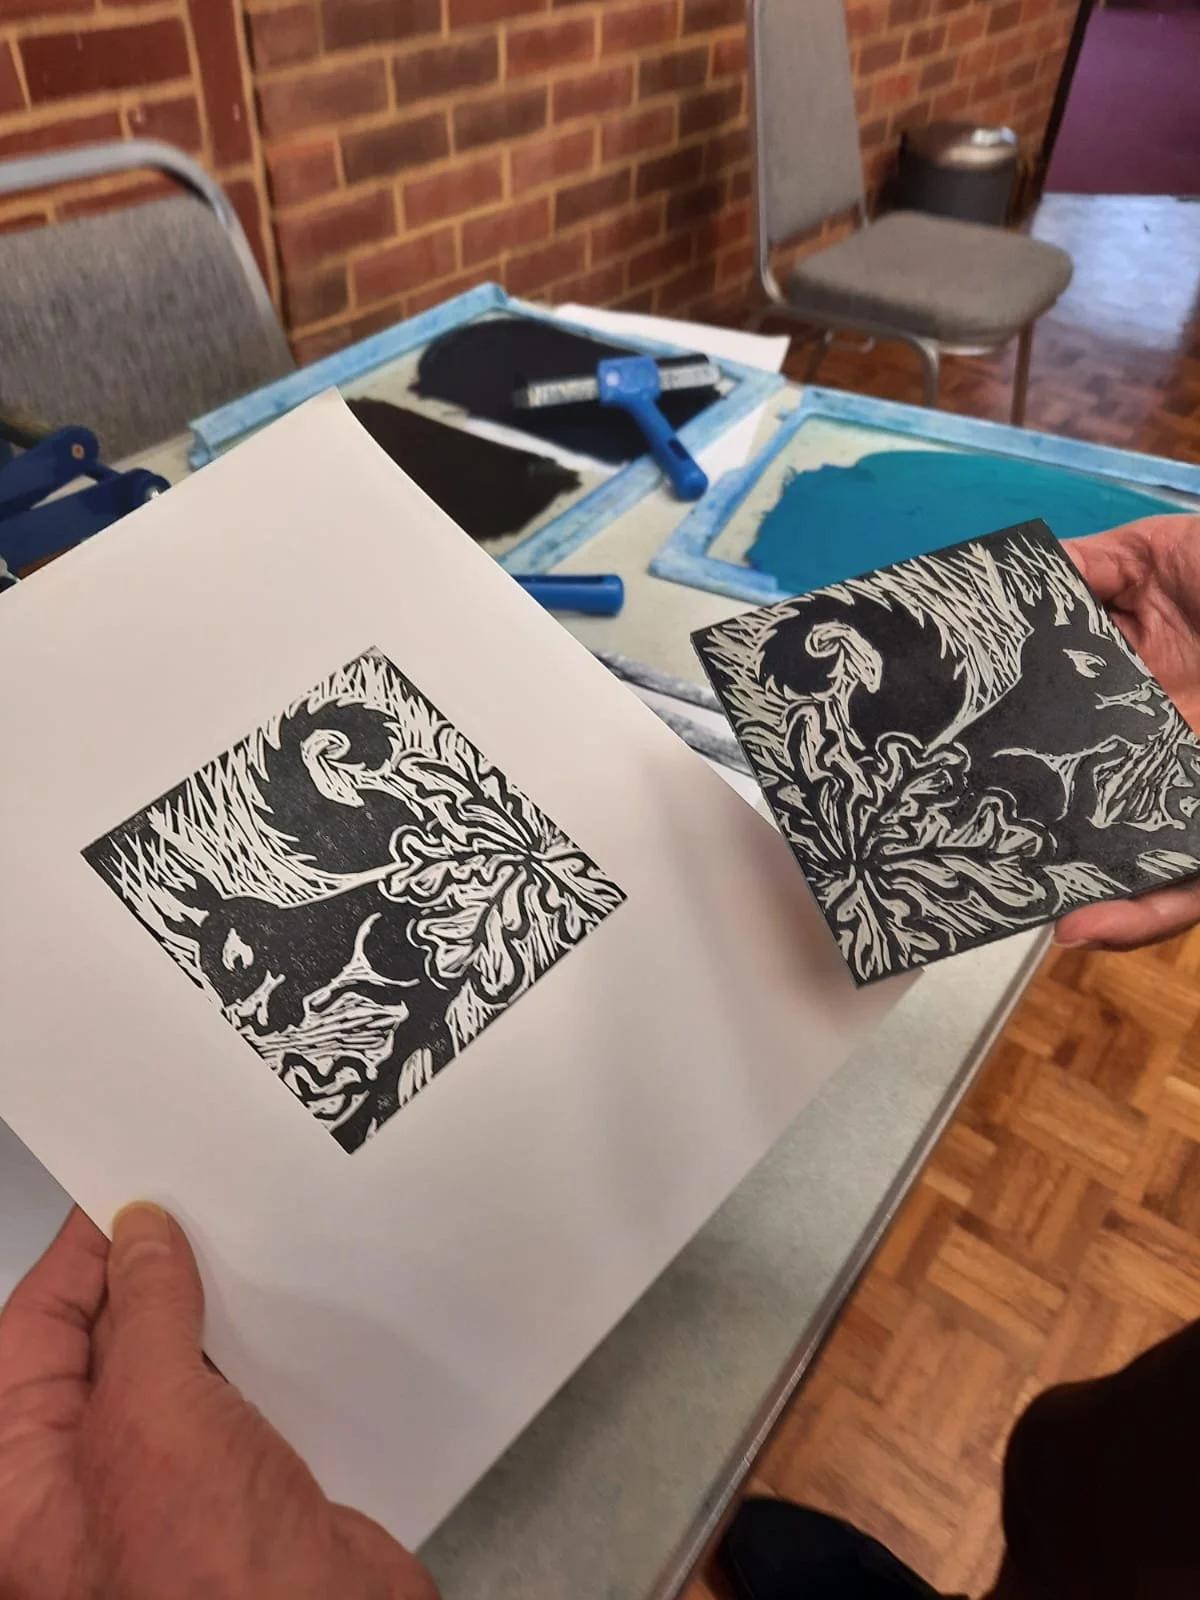
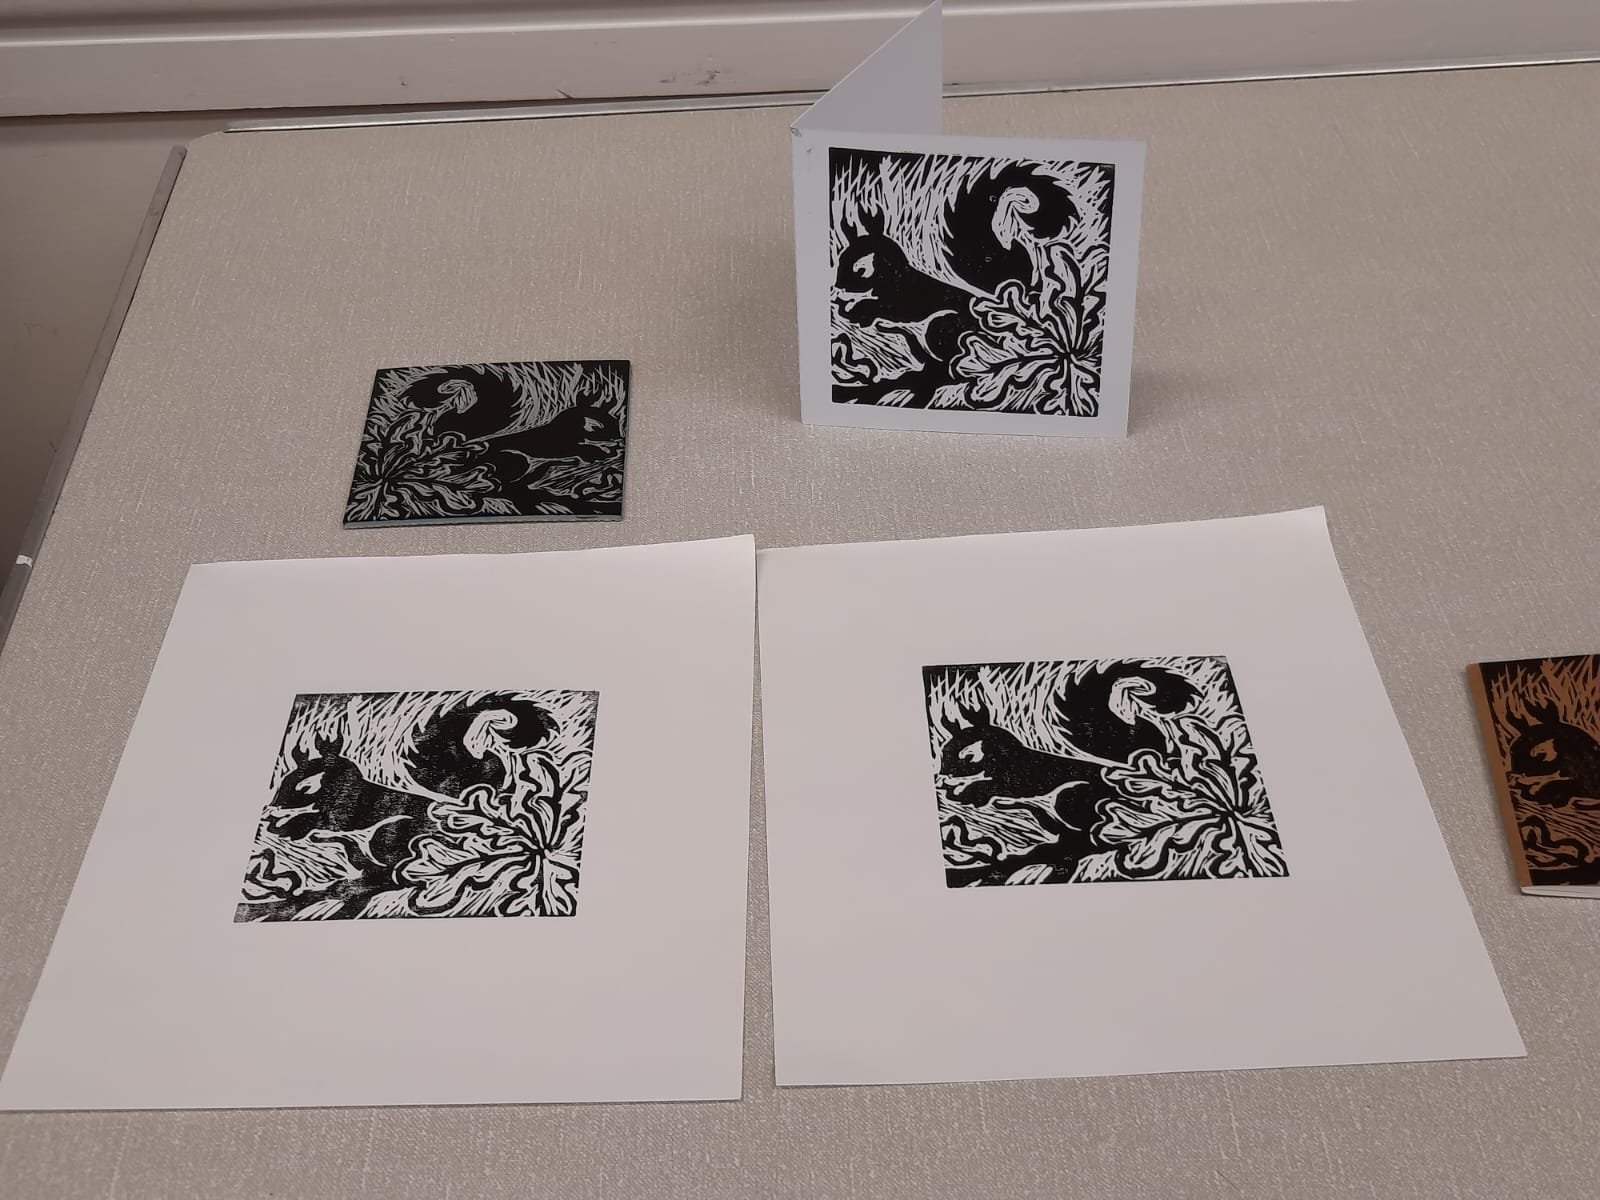
Chose your printing colour already rolled out on some tough glass (recycled refrigerator shelves), rest your paper on your lino and press it onto your design, using either a baren, or the back of a spoon, or a press.
We all came out of the workshop happily, with at least one print, one greetings card and a notebook (and with expressions of great satisfaction).
A lovely introduction to printmaking. Gemma also very kindly brought us cake, which made us even happier.
Gemma has promised to send us a list of all the printmaking products used in this workshop - so watch this space.